Network - stringing it all together.

Of all the things you invest in when doing Home Automation, your network is the most important. To be clear, I am not limiting network to just WiFi. Involved in my old California house were:
- Z-wave (in my case, used exclusively by my Honeywell Lyric Alarm System)
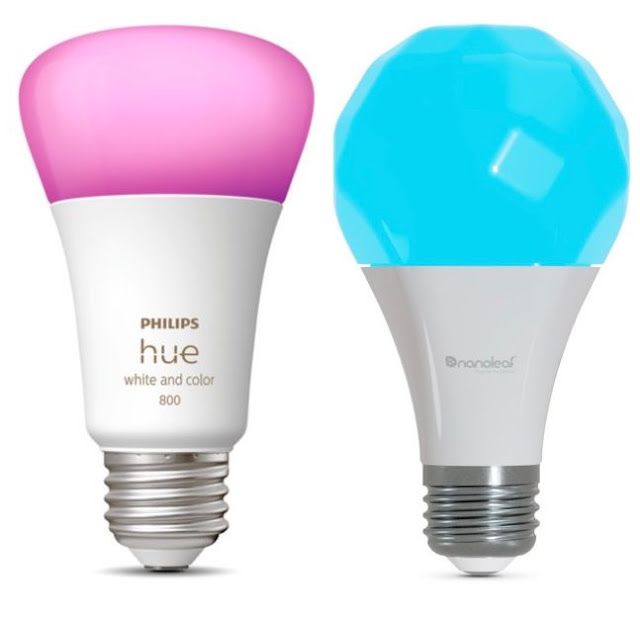
- Zigbee (used by Philips Hue and Ikea Tradfri in my house)
- Bluetooth (used by Eve, Level Bolt and SOMA Tilt)
- Thread (used by Apple, Eve and Nanoleaf)
- BLE - Bluetooth Low Energy
- WiFi - Hubs, power outlets, wall switches, ceiling fans, Cameras... as it is a high power consumer, basically anything permanently connected to power.
In my UK home, I have a slightly different mix.
- Zigbee (used by Philips Hue and Aqara)
- Thread (used by Apple, Eve and Nanoleaf)
- BLE - Bluetooth Low Energy
- WiFi - Hubs, power outlets and Cameras... as it is a high power consumer, basically anything permanently connected to power although now some Thread Routers are taking over this role.
Apple, Google, Amazon, SmartThings and more and the CSA (Formerly Zigbee Alliance) all came together to produce a new IoT standard called Matter.
All of these various networks have their pluses and minuses and I think this is why we have such a plethora and why the industry is trying to create one standard to rule them all.
Still, the glue that holds everything together in my home, and in many homes, is WiFi. I think it will be for the foreseeable future too, butThread seems to be quickly catching on.
In the beginning...
When I arrived in the USA in 2017 I brought my Apple WiFi products with me. This is a market that Apple have subsequently pulled out of, but for a while they had some great products. You could extend your network if you wanted to... but only so far and I found that it just didn't work for me.
I use an Internet service from Xfinity. Again, when I bought my house in 2017 it wa the best service I could get in our area, offering 300Mb/s at a reasonable price. They've since gone on to 1Gb/s.... but even though I'm what I'd call a power user, I really don't see the benefit. It gives us plenty of bandwidth to stream TV and download files. Sure, the downloads would be faster, but I'm OK with what I have.
First thing to learn about any of these services... but your own modem! Do not rent one from the service provider itself as, over time, it will cost you more than having bought one.
In California, I had a Linksys cable modem. It did not provide any WiFi. Literally coax cable in, and one Ethernet port out which plugged into my WiFi Parent node. Initially this was an Apple AirPort Extreme and it came out in one corner of my living room at the front of the house. I then had more Airport products stringing back to wards the back of my house... but I never could get a really good service.
Then I found out about Mesh networks...
I did a great deal of digging around, and I finally decided to go with the Linksys Velop AC3300 Tri-band Mesh network. Options were a bit limited when I bought mine for a Mesh network, and this seemed to be the best at the time. It also fit in with my principal of KiSS (Keep it Simple Stupid) where I try to minimise vendor interactions to make sure I don't get caught in the middle of 2 vendors pointing fingers at each other.

This certainly improved life for me, over the Apple network I had. I had one node, the parent, in the Living Room, another in my Home Office, at the back of the house, and a 3rd in the Garage. However, life was still not trouble free. There were still some issues I kept encountering which were caused by a mixture of reasons, and came forth when we had power outages, thanks to the wonderful PG&E.
According to the Linksys literature, devices on the network should just connect to another node... of which there are none when you have lost power.... or keep trying until there is a network. Now, that's all well and good when you are a network company, but many of the companies producing home automation products are not network companies and are getting into home automation for the first time... this meant that their networking was less than optimal and so they would not reconnect. Every time we'd have a power outage, I'd have a whole bunch of devices not working and it would take me hours to get it all working again. I will say that this has improved vastly over the last few years and through a series of firmware upgrades devices have got more and more reliable. Still, after a series of power outages, I got fed up and bought the battery backup UPS'. It might seem like overkill, but it just so happened that I usually had other devices/hubs nearby that I also wanted to plug in and so it was not too bad. I covered this in a previous post.
Now, life was much better again. Still, not exactly perfect!
Adding devices to my network was a pain. I found that sometimes it would work using my iPhone and sometimes using my iPad. Basically, some devices will only work with the 2.4Ghz band and if you merge them, the devices can get confused. I separated the bands into 2 networks, and it resolve that issue.
However, I'd still lose network connections for devices even though the AC3300 is supposed to cover 6000sq ft/557 sq m, and my house is way less than that. Of course, Linksys also talks about how wonderful their system is.
I kept getting repeated drop outs in the Garage and so my first though was to minimise hops. I moved the main node from the Living room more towards the middle of the whole mesh in my home office. Thinking about it, it was damn obvious that I should have done this in the first place. It's just one hop to the Garage, and one hop to the Living Room, instead of the original two hops for the garage to get to the Parent Node in the Living Room.
Again, reliability improved, but not entirely. I now started to get some issues from the front of the house.
I finally got onto the forums, and then I got a crucial bit of information around how to measure the signal strength between the nodes.
By default, the IP address of the parent node is 192.168.1.1. In the URL address in your favourite web browser, which is obviously Safari, you type:
http://192.168.1.1/sysinfo.cgi
and let it run for about 2 minutes. This provides a great deal of information, but what you are looking for is this table:
  Node (MAC)  NODE IP          PARENT IP        Intf.  Chan.   RSSI(AP/STA)      Speed  State Timestamp
------------  ---------------  ---------------  -----  -----   ------------  ---------  ----- ------------
58EF68434E14  192.168.1.197    192.168.1.1        5GL  48           -59/-64  158.54400     up 1604116464
C4411E921547 192.168.1.162 192.168.1.1 5GH 161 -82/-84 86.42900 up 1604116472C4411E921CB8 192.168.1.93 192.168.1.1 5GL 36 -72/-72 116.37100 up 1604116479
Now I've deliberately changed my set up in this example to make it obvious.
In the column RSSI (AP/STA), you really shouldn't have anything higher than -70, although -72 is OK (That's my connection to the Garage)
You'll see that I have -82/-84 in one line. This is a pretty awful signal and, consequently, the speed is low. The other consequence will be that the link is unreliable.
The answer was to put another node in between, so now I am back to a double hop from the Living Room to the Study, via the Dining Room. However, if the Dining Room node goes down for any reason, it can still reach the Study, just at a reduced speed.
HomeKit Compatible Router on the Linksys.
Ironically the first Router to be HomeKit Compatible was Amazon's Eero. However, I had already bought into Linksys Velop, and I was pleased to see that they were on board too. As I type this, today is the first day that the firmware is publicly available, at least for the V2 of the product. You do have to manually update the firmware though as it seems that Autoupdate is not yet working. You also have to be careful not to install the V2 firmware on a V1 node.
When you have upgraded the Linksys firmware (You need a minimum of V2.114.203054 for the V2 node) and you have the latest version of the app it will tell you you can add to HomeKit. Just follow the instructions, but I suggest that you look at the names of your nodes (The default names are on a label at the bottom of the Velop nodes) so you know which rooms they are in... because it will ask.
One thing, I had to re-merge my 2.4Ghz & 5Ghz networks into a single SSID again. I don't know how that will go with adding devices again. In the past it has been a pain.
What is the idea? Obviously as the network is the core of the Smart Home it is a prime place to attack devices and try to find a way in. Being HomeKit compliant gives you a new category of devices in your home:


On the 2nd screen you can see the list of accessories, it scrolls down to quite a list if you have a lot of different vendors.
With each vendor you can select what kind of network connection do you want:
- Restrict to Home: Most secure. Your accessory can interact only with HomeKit through your Apple devices. The accessory won't connect to the Internet or any local devices so any third-party services, like firmware updates, might be blocked.
- Automatic: Default security. Your accessory can communicate with HomeKit and connections recommended by its manufacturer.
- No Restriction: Least secure. This setting bypasses the secure router and allows your accessory to interact with any device in your network or Internet-based service.
There's Trouble at Mill!
(That's a Monty Python reference)
Just before I left California and moved to the UK, I started having problems with the 2.4Ghz band on my Linksys product. It would happen even if I only had one node running and I was right next to it. Basically, the speed was terrible. This was a huge issue as most products used this band.
I ended up working with Global support for Linksys, but they kept making me jump through massive hoops and they never got to the bottom of the issue. Meanwhile, as I was unemployed, I was offering an unofficial tech service in the neighbourhood and I got to play with people's Eeros. To start with, the whole UI experience was a cut well above Linksys.
Moving to the UK, and a new beginning.
As noted earlier, Eero supports HomeKit Secure Router... or it did when I moved to the UK, it has now stopped doing so. I suspect that they'll support routers using the new Matter standard, but I have yet to see them say anything.
Eero routers also have Thread built in. However, at the moment, this is not compatible with Apple's Thread implementation. Hopefully, as the Matter standard gains traction and Eero supports Matter (Expected in 2023) this issue will go away.
Anyway, I don't need any of the newer higher speed WiFi routers as my Broadband is 70Mbs, but in reality about 45Mbs.... because I live in the middle of absolutely no where! It's not the end of the world, but I can almost see it from here (It's actually about 20 minutes away by car). Apparently I'll get a free upgrade to 100Mbs when it finally arrives! This means that the Eero pro 6, which does support HKSR, is more than adequate for my use case.
My Broadband is supplied by BT (British Telecom - for the non UK amongst us, they were the sole option until telecoms were privatised and so, often, remote areas have only them as a real choice).
Unlike in the USA, I have no choice but to use BT's modem, which does do WiFi.... which I have switched off. Also, unlike the USA, I cannot run their modem in bridge mode. So, my main Eero Pro 6 connects to the BT Router via Ethernet and that then connects to the broadband. I could put my Eero bridged mode, but then I'd lose HKSR, and so it also runs as a router.
Setup
It's been a while, so I don't have any screen shots (Sorry), but set up is incredibly easy. Much easier than Linksys. Just follow the instructions.
Adding a Mesh node is also incredibly easy. I added another one just for this blog.


Initially, when you plug in the USB-C cable to the back of the node, then it flashes white. Eventually, it will start to flash blue, and this now means it is ready for setup. Whilst you can open the Eero App earlier, it is really about now that you open it, as it will just then skip through certain screens that otherwise it will pause at.


You fire up the Eero apple and in the top right hand corner you see a "+" sign tape that and you will be offered a number of options. You select "Add or replace Eero devices", it then takes you to another window which then gives you the option to add or replace, and so you select the appropriate action. In this case "Add eero Device".


It tells you to plug in your Eero, which we had already done, so press <Next>. This is where flying through a few screens happens and it ends up with a screen talking about your placement. In this case, it looks good. Don't be fooled with this, as I found out the hard way.... but more on that later. For now, especially if you only have 2 or 3 nodes, assume it is all good and select <Next>


Now we have to select where it is placed. In my case, it was in the Master Bedroom and so I had to select "Customised" and type in the room name. It's a good idea to us the same names as you use in HomeKit.


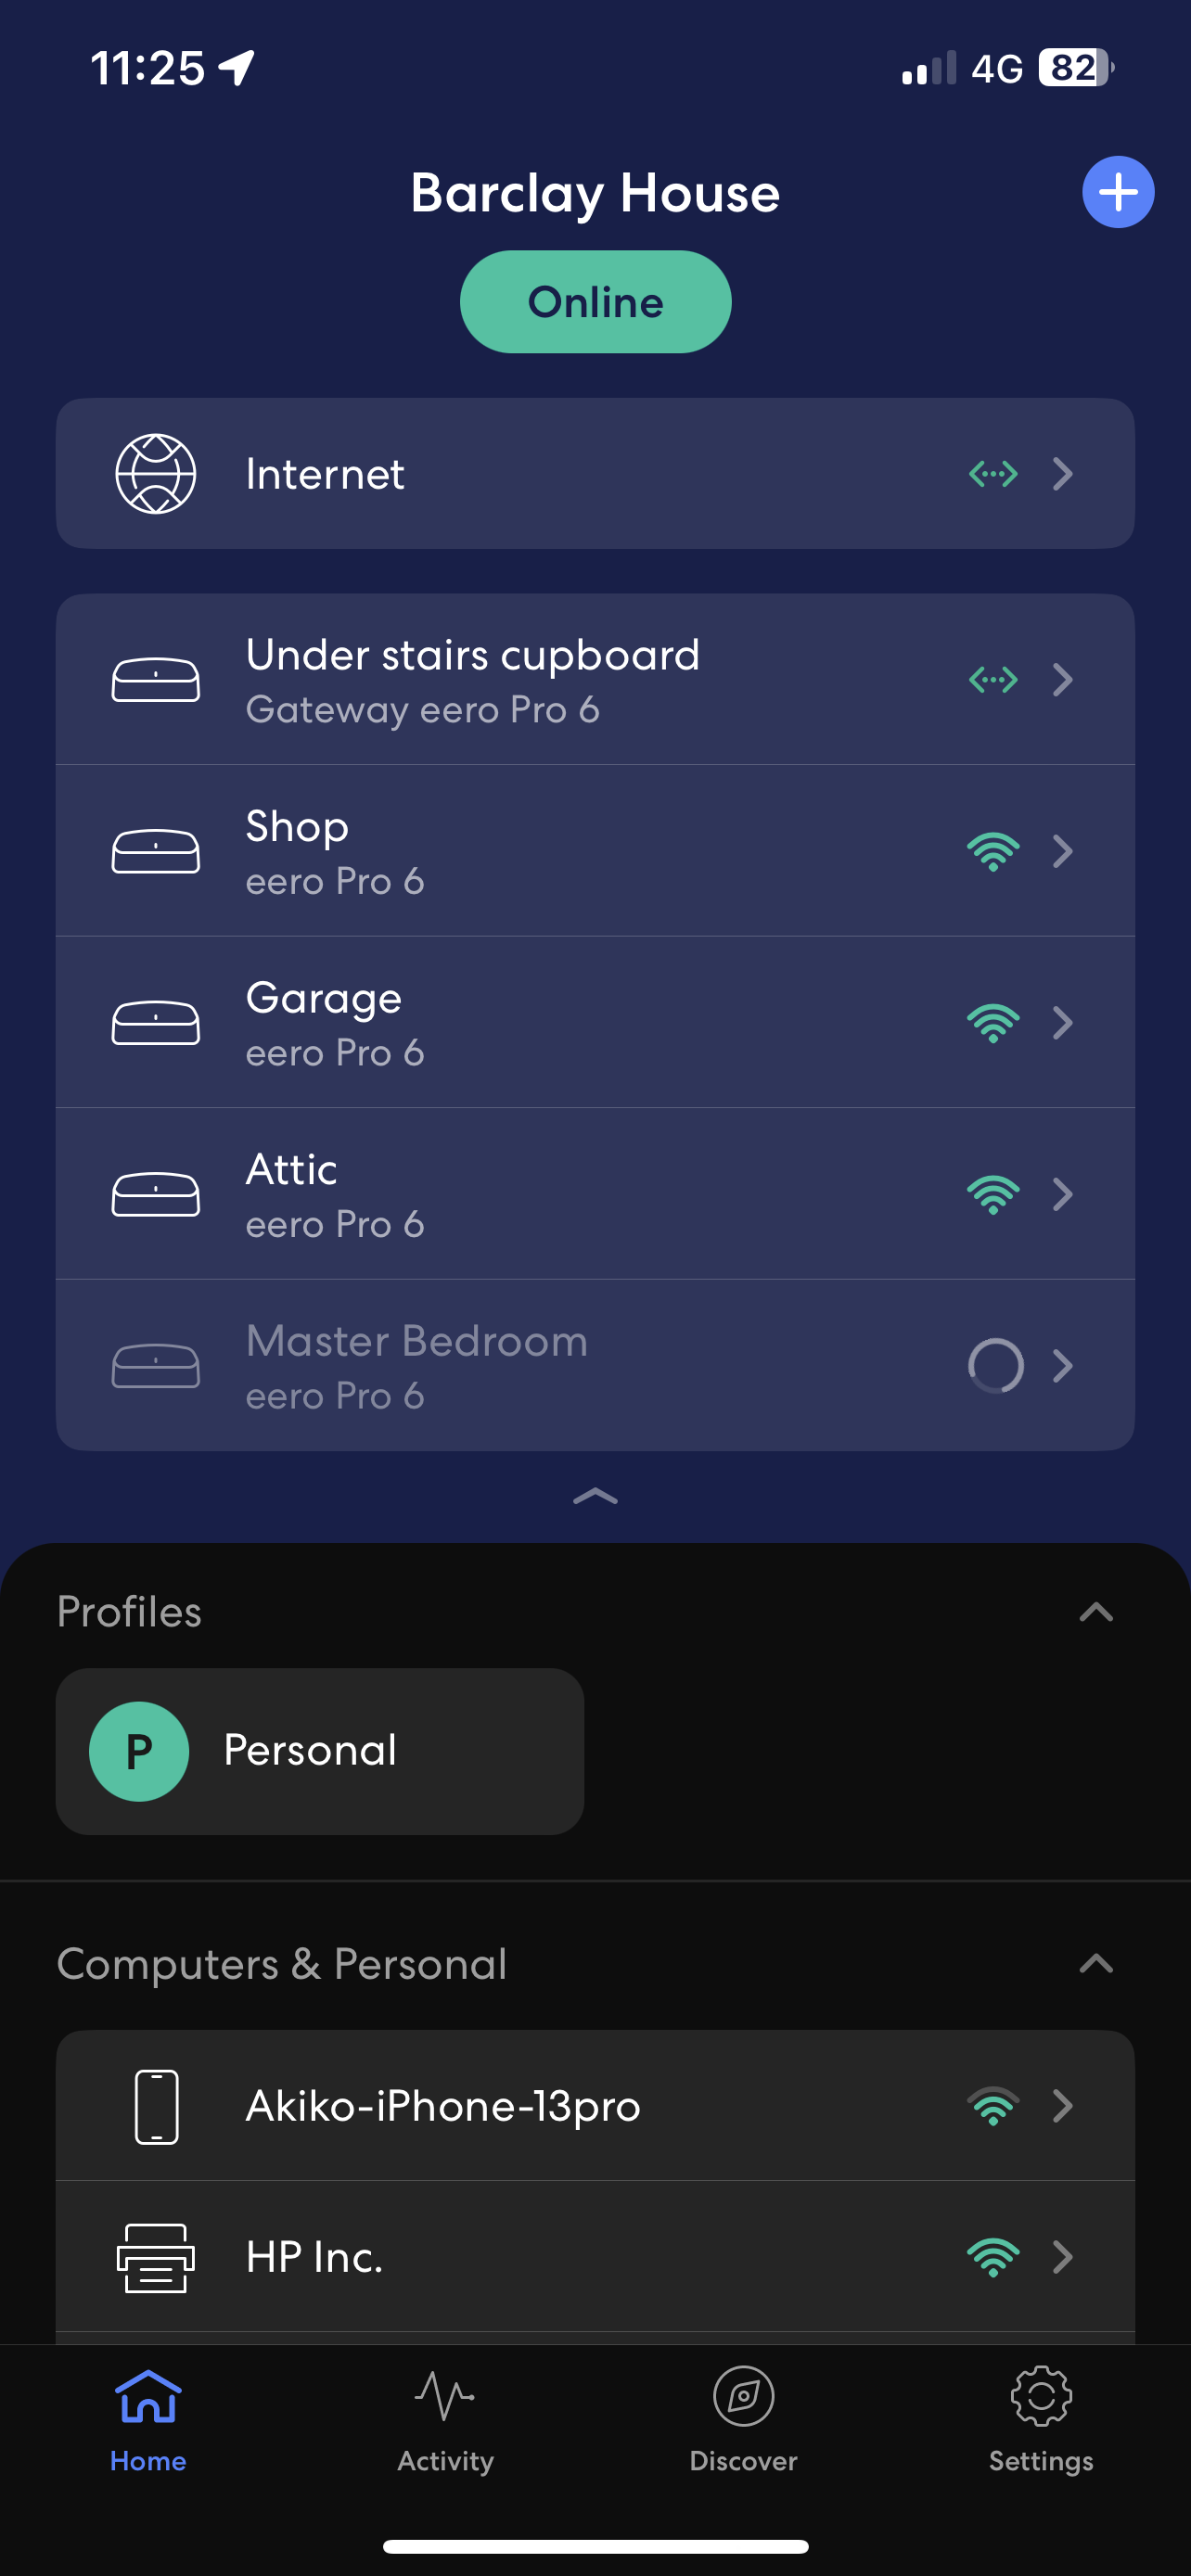
In my case, it then spotted that my new node was at an older version of the firmware than the existing ones, and so it offered to update it. It is a good idea to keep firmware up to date. Eero is pretty good in that the update can happen in the background and you can let it tell you when the update is done so you can do other things whilst waiting.


When the node reboots, it joins the network pretty quickly, and starts to operate as a mesh. Here you can see that my iPad, Aqara hub and 2 of my Roomba (a company I will no longer buy from due to their unsatisfactory customer support) are connected.
If you now look at the Eero main screen, you can see the new node, and the connection strength into the Mesh.


If you look in HomeKit, and go to Home Settings, you can see a category of "WiFi Network and Routers", select that and you'll see all the nodes and you can turn on/off HomeKit Accessory Security. You'll note I have most of mine set to Auto, with a few exceptions. If you look at a specific node, you can assign a room. By default it is "Default" and you should change it to the correct room. Why setup can't do that for you, I don't know. It's a small, but annoying, complication.
You may note that the firmware is 1.0, which is actually the version of HKSR, not the version of firmware being run on the router.
So what happens if something goes wrong?
It's not that brilliant, but...


I unplugged my node, and you can see that it shows "Not Connected" in "Home Settings". Because I had set it up to be in the "Master Bedroom", when I look at that room, it is also in the status line in the room. If you touch it, it just takes you to the node in "Home Settings", and from there you can fire up the Eero app.
There's trouble at mill! .... again!
So, what happened this time? Basically, I live in a house that is a mixture of stone, cob and lath and plaster. Unfortunately, for me some of those cob and stone walls are feet thick and are not limited to exterior walls this means I need multiple nodes and setting up the WiFi has been problematic.
Earlier, I said that you should not trust the "good connection" status. It is true for the connection, but not true for the status of the mesh. At one point I had 6 nodes in my mesh, and everything showed it had a good connection, yet my speeds were terrible. I'd often drop down to 3Mbs.
I managed to work out that I didn't need one, but the Master Bedroom node was causing me a great deal of pain, but I seemed to need it due to bad WiFi reception. It seemed like I needed 5 nodes.
It was, basically, trial and error and a hint from Eero tech support that you can have too many nodes if they are close to each other. I finally put a node in my Attic, and removed the Master Bedroom node, and that cured my Mesh problem. my network speeds are all consistent again.
I wish there was an easier way to trouble shoot this particular issue.

Comments
Post a Comment