Quite some time ago, I wrote. blog post about bringing some of my automations together such as lights coming on and blinds closing.
I still do that, although my integration engine has moved from Homebridge to Home Assistant and I do a bit more now. I think I'm truly getting Lazy in the Living Room.
Let's start with the basics, which haven't changed much.
This is, basically, my TV set up. I have an tv 4K connected to my Denon AVR-S750H Amp which outputs to my LG TV, which is getting pretty old now as it is a 2016 model.... but it's OLED, 4K and 3D. I have quite a collection of 3D movies and this is about the apex of 3D TV's. I digress..... these are all connected vi HDMI-CEC. This means I turn on my tv, via its remote, and my amp and TV also turn on and the amp's volume is controlled via the tv remote.
Not much automation there, except that my 3D Blu-ray player and a Mac mini are also connected to the same amp. The Blu-ray player has an annoying habit of also coming on, so I have that attached to a Meross Smart Plug Mini so that it is mostly off and only comes on when I tell it and I want to play a disc.
This means a more complete look is this:
Although that doesn't show the record deck that's also there.
I'm not going to go into it too much, but I also have 7:1 surround sound speakers. That's:
- 2 front
- 1 centre
- 1 sub woofer
- 2 side
- 2 rear
The Denon amp is Airplay 2 compatible which is great, and I use that capability to stream from my phone at times. However, I've also
set up my records with NFC tags so that I can look through them, but then use the NFC tag to play a specific album if I'm too lazy to get the album out. And laziness is the point of this post!
Automations
Closing the Blinds
The first Automation, therefore, was to close the blinds in the Living Room when I turn on the TV. I actually do it based on the LG TV being turned on because that works for all of the video inputs.
Adding the LG TV to Apple Home.
This, though, meant that I needed to add my LG TV into Apple Home and which, because it is so old and that LG doesn't generally update its firmware very much, meant that I needed an integration. originally that was Homebridge, but now it is the Home Assistant
LG webOS TV Integration, a standard part of Home Assistant and it means zero configuration work as it auto discovers the TV. Then using
HomeKit Bridge I added it to Apple Home.
Inside Home Assistant, you create a bridge by clicking the (Add Entry) Button in the top right hand corner.
Then create a bridge for an accessory of a domain of "Media Player":
Click (Submit) and then select the Media Player you want from a drop down list.
You can the add into Apple Home, and you'll see an icon as usual.
But, you also get access to quite a bit more info, such as the inputs.
Because you can see those Inputs, also means you can see them in the interface in Apple Home.

Closing the blinds when you turn on the TV with an Automation.
I'm going to assume that the Blinds are already added to Apple Home. In my case, they are based on Eve Motion Blinds. originally set up via HomeKit, but I've migrated mine to Matter.
The Automation is quite easy. You start with Adding an Automation:
Then select "An Accessory is Controlled". You then Scroll to the room and select the TV:
and click (Next) in the top right hand corner. You will be taken to another screen and you select "Turns on":
Again, click (Next> and will you will be taken to the next selection page which is to decide what to do. Again, scroll to the room where the device is you want to control and select it:
Again, click (Next), and then decide what you want to happen. In my case, it was Close the blinds.
Now click on the "tick" in the top right corner.
You can do the almost identical for turning off the TV except you'll want to open the blinds, but only during the day.
Adding Nanoleaf 4D into the mix.
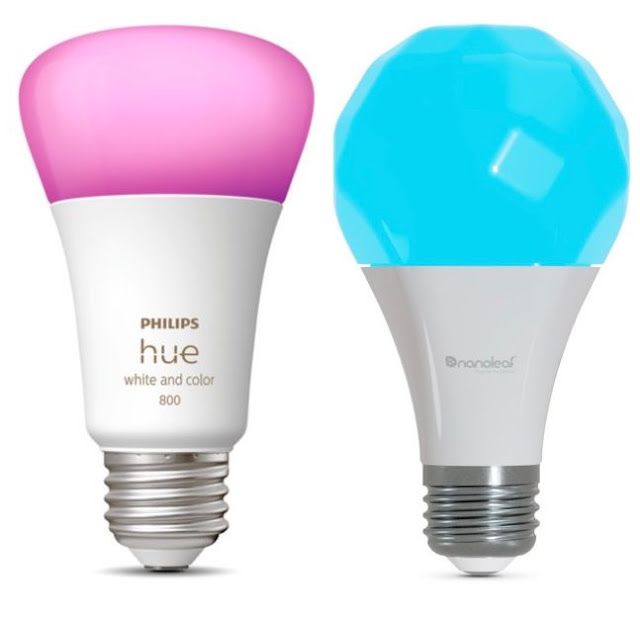
Now, in. my original blog post I used Philips Hue. There were issues with that and one was it did not support a number of standards, including 3D. When Nanoleaf brought out their
Nanoleaf 4D product I took the opportunity and
replaced Hue with Nanoleaf 4D.... and sold my Hue product 2nd hand which more than paid for the Nanoleaf product.
My earlier post goes through the configuration of the standard Nanoleaf 4D, so you can go there to find out how to do that, but now you can sync with those other Nanoleaf devices.
From the Home Screen of the Nanoleaf app, select the 4D, and you'll go into its main screen.
You can see Sync+, mine already shows that it is synced with 3 devices, select that by pressing the >
And now you can select the devices and where to place them relative to the TV. It's pretty easy, and the effect is quite awesome.
The one problem that the 4D has is that you have to turn it on every time, so I've set up that automation of closing the blinds to now also turn on the Nanoleaf 4D, the Floor Lamps and the Lines.
Again, when you turn off the TV, you basically want to do the opposite of what you've done here.
Getting Comfy....
Every time I turned on the TV, I'd raise my legs on the motorised foot stool. Every time..... and I'd have to do it with putting my arms down the side of the couch and press buttons with my fingers!
Just too much work!
As I was looking at my pile of discarded/no longer used Home Automation bits and bobs, I realised I had 2
SwitchBot Bots. They're pretty good at pressing switches and they are even listed on the SwitchBot webs site as "Finger Bots". Perfect!
I first of all sat in the seat and raised it to the perfect setting, counting how many seconds it took, which was 8s.
I placed each bot on one of the two buttons on the arm.
The Left one being to go up, and the right to go down.
I know it doesn't look very good, and I think it might be able to be done with relays hidden inside the chair, but it doesn't actually matter as the end is obscured by a wall.
After adding the bot to the SwitchBot app I then set it up by defining its mode. I must admit, this is where SwitchBot lets the side down. There is a Press Mode, a Switch Mode and a Custom Mode. Custom is really for repetition. Press Mode is acting like a button and switch mode more like. switch where it is down. These are just fine, except when you show them in Matter. If only the Press mode showed as a Button and not a Switch it would be great! Less effort for me!
Anyway, I set it up in Switch Mode and to hold down for 8 seconds, the time it takes to raise/lower the foot rest.
I got really imaginative here and called one "Seat Up" and the other "Seat Down". I then Added then as secondary devices to the SwitchBot Hub, and they showed up in Apple Home. The annoying thing being that they do not show up with their names, so you have to work that out.
Now, the automation gets a little tricky here, as you actually have to turn the Bots off in the Automation.
I have two small automations. When "Seat Up" is turned on, then "Seat Down" is turned off, and vice versa. You can do that as they are ALWAYS in opposition to each other.
Now it is back to the main automation of turning on the TV. I need to raise the seat.
I do not need to turn off "Seat Down" as I already have the automation to do that.
Again, you may want to do the opposite for when you turn the TV off. In this case, it would be to turn on "Seat Down".
But what happens if I'm not there?
That may seem like a funny question, but much of automation is actually being observant of human behaviour and it just so happens that most of the time we have our designated seat sin the house and we don't stray. And so it was that when I was away recently, my partner turned on the TV and my seat rose up even though I wasn't there!
I can't do, however, when I'm not at home because someone else may sit in my seat!
This called for a.....
Pressure Sensor!
I wish I could claim this one as my own idea, but I saw it a few years ago and it involves an
Aqara Water Leak Sensor and a
Car Seat Pressure Sensor. You can actually use a Contact Sensor instead of the water leak sensor, but you'll have to do some soldering. With the water leak sensor, there are two Allen screws one the bottom which you can take out and put the wires around from the pressure sensor so it looks like:
You then put the Pressure Sensor inside your seat cushion and, obviously, the water leak sensor somewhere where it is safe and won't get sat on.
You just add the Water Leak Sensor to the Aqara App as usual, so you will need an Aqara hub.
I changed its name, and chose an icon that looked more like it actually is. NOTE: I did NOT turn on the alarm for when a leak is detected.
Because the Aqara hub is acting like a bridge, they appear in the room where your bridge is, and they do not use the names you have just configured.... so you have to rename them again and put them in the correct room.... again!
Now, one REALLY IMPORTANT thing you have to do is to go into "Status and Notifications" and turn off "Activity Notifications". If you don', every time you sit down you'll get a leak alert. Of course, if you are incontinent that may be true, but still I'd think you don't really want that alert just for sitting.
Now you've done that, you'll see two "Alarm Sensors" in your room of choice.
Now to add this to the automation, and because we are now going to be conditional, we have to create it as a shortcut.
Where you selected the accessories before, you now scroll all the way to the bottom, and select "Convert to Shortcut":
What you need to do is to start using scripting an add a simple IF/ENDIF statement.
Again, you need to modify the TV OFF automation too. Now that one is getting harder as, if you hadn't noticed, if it is during the day you want to open the blinds. If it is at night you don't want to open the blinds. Now, you can do what I initially did which was to create two automations. One for each part of the day. But that's a bit sloppy, so I've now turned it into a shortcut.
What this short cut does is :
- Turn off the Nanoleaf Devices
- Put the foot rest down
- work out if you are between 30 minutes after sunrise and 30 minutes before sunset. If you are, then open the Living Room Blinds.
Summary
Yeah, it was a lot of effort to be lazy. Still it all works. I'm curious if I can use relays instead of bots and am wondering what to do about the cats.
The Denon Amp is also bridged into Apple Home via Home Assistant. Again, this is a standard integration with Home Assistant. And it doe mean you can control the inputs from inside Home after I have used the HomeKit bridge, just like I did with the LG TV.
However, if I'm honest, I've not really found a use for it yet.


Comments
Post a Comment