Switchbot are no strangers to using crowdsourcing for their products and one of the things they funded was the Homebridge plugin. I'd have preferred to see them get official HomeKit support, but it is interesting to see a company embrace `homebridge and release support that way.
I've already shown how I used it once, with the bot, to make me coffee in the morning. This time, it is to automate my curtains. This is a tale of woe to start with, but it turns out well.
I got my first 2 curtain bots, rod type, early last year. The idea being to automate the curtains in my mother's house as she has arthritis and can't lift her arms so well now to draw the curtains. Whilst I don't expect my mother to use the automation so much, the SwitchBot has a really cool feature, which is that if you tug the curtain in a certain direction, the robot will do the rest for you..... perfect for my mum.
Unfortunately, that didn't go so well as Switchbot, at the time, were not so obvious on their maximum dimensions for the rod, which is 40mm. My mum's rods are 45mm, and so too big for Switchbot....although I did get one to work well, but only one of 2. The other one would work well in one direction, but not the opposite direction.
This has exposed me to SwitchBot's tech support. They asked for, and got, a video of the offending bot and there was no debate, they replaced the bot immediately.
Still, the rod was too thick..... roll on a few months... well quite a few months, and I bought a house which had rod curtains. I decided to give the Switchbot curtain a 2nd go.
I charged both of the robots up, and one was excellent. The other would not go into pairing mode. Again, contacted SwitchBot support, and they sent me a complete reset sequence, that sorted the problem.
Then I tried to pair the Switchbot with my SwitchBot Hub Mini, and now that would not work. Once again onto support, and this was a known issue and there was a firmware update for the hub to correct the communication issue, which got pushed to my hub.
Basically, I got my living room working. Brilliant!
I have a basic philosophy about companies. It's easy to be good when everything goes well, but it is when things don't go well that the real company starts to show through. I was so impressed with the response from Switchbot that I decided to not only do a 2nd set of curtains, but to also add on solar chargers to both sets..... because I had the confidence that if I had a problem, Switchbot tech support would help me to resolve it.
As it happens, the 2nd installation went flawlessly, which is in the master bedroom.
Installation and setup of SwitchBot Curtains for Rod Curtains.
There's the physical set up, but that's all fairly obvious ... although there are 3 kinds apparently. My downstairs curtains and different from my bedroom curtains. So it looks like Switchbot are doing continuous development, even within 1 version. However, I've subsequently received the "Rod 2" which is different again. Still, installation is easy, and SwitchBot have videos for them.
Two tips:
- The bot goes on the outside of the curtain
- whilst you have to press firmly, don't press too much as it causes too much friction. If your bot is running along the rod slowly, then you've probably used too much force. Slacken it off a little.
- Create the room before you add the bot, because you can't add a room whilst adding a bot, only select from existing rooms:
- select the "+" in the top right hand corner
- "Manage locations"
- "Create Room"
- Name the room you want, you will see I created "Master Bedroom"
If you then select "Bots near by", you will see a curtain bot. Touch that and follow the instructions:
When you press next, it will communicate with the bot, and then you can add it to the room you want it to be in.
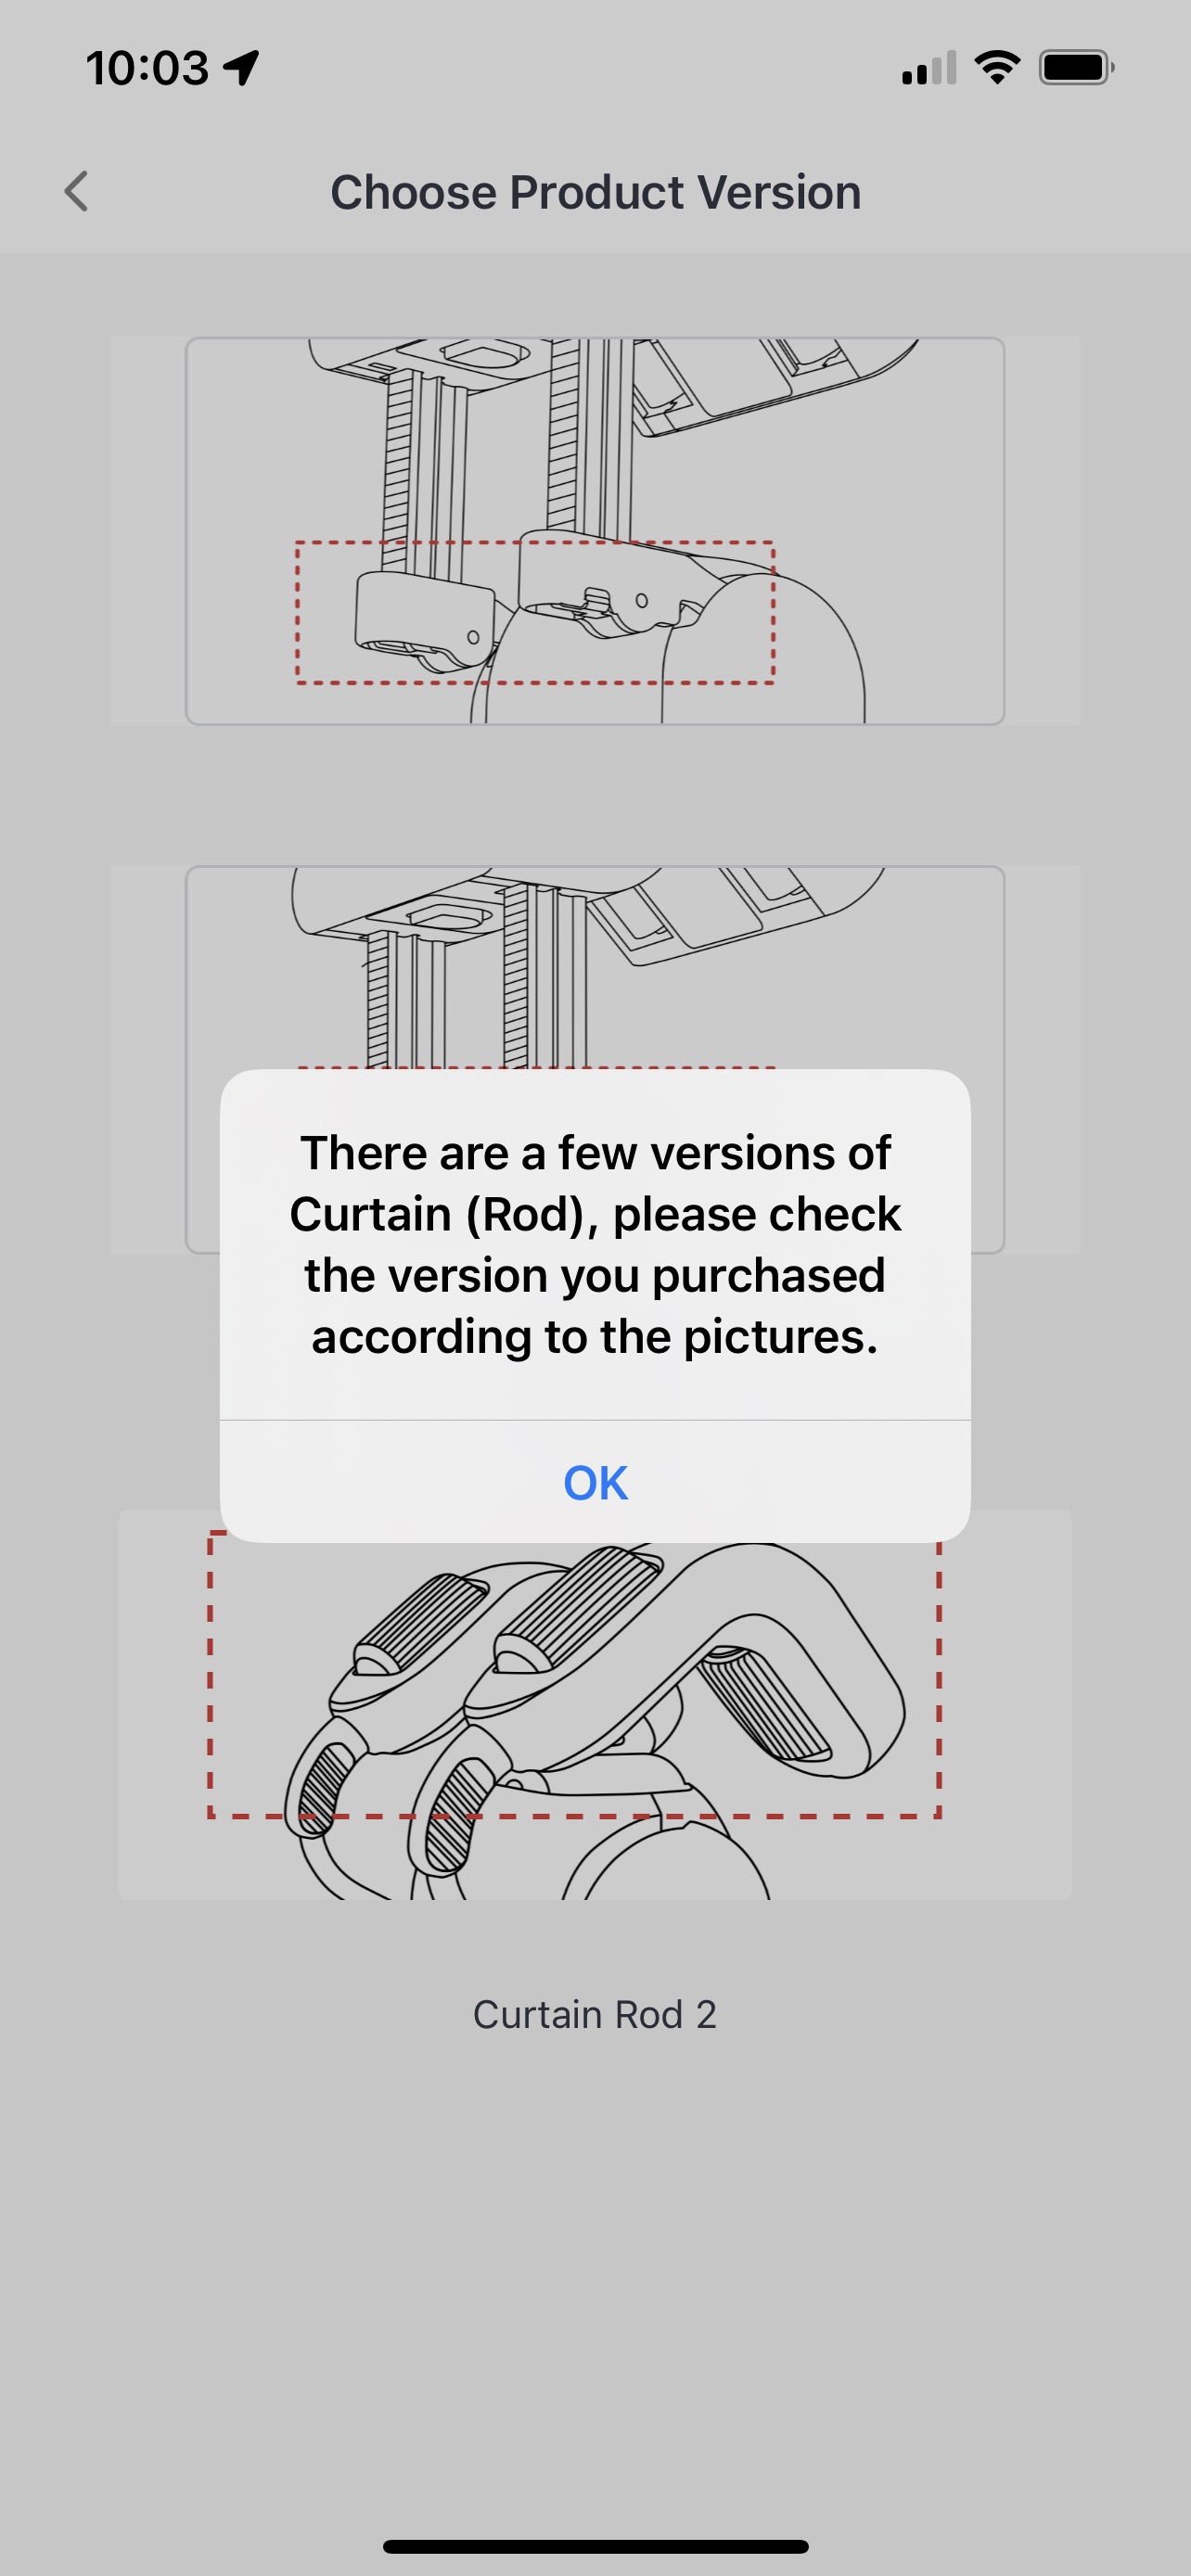
You now go through a series of screens defining what kind of curtain you have. I have a Rod type with curtain Rings (My Living Room was the middle kind, with the Bedroom being the top version of the Rod type bots):
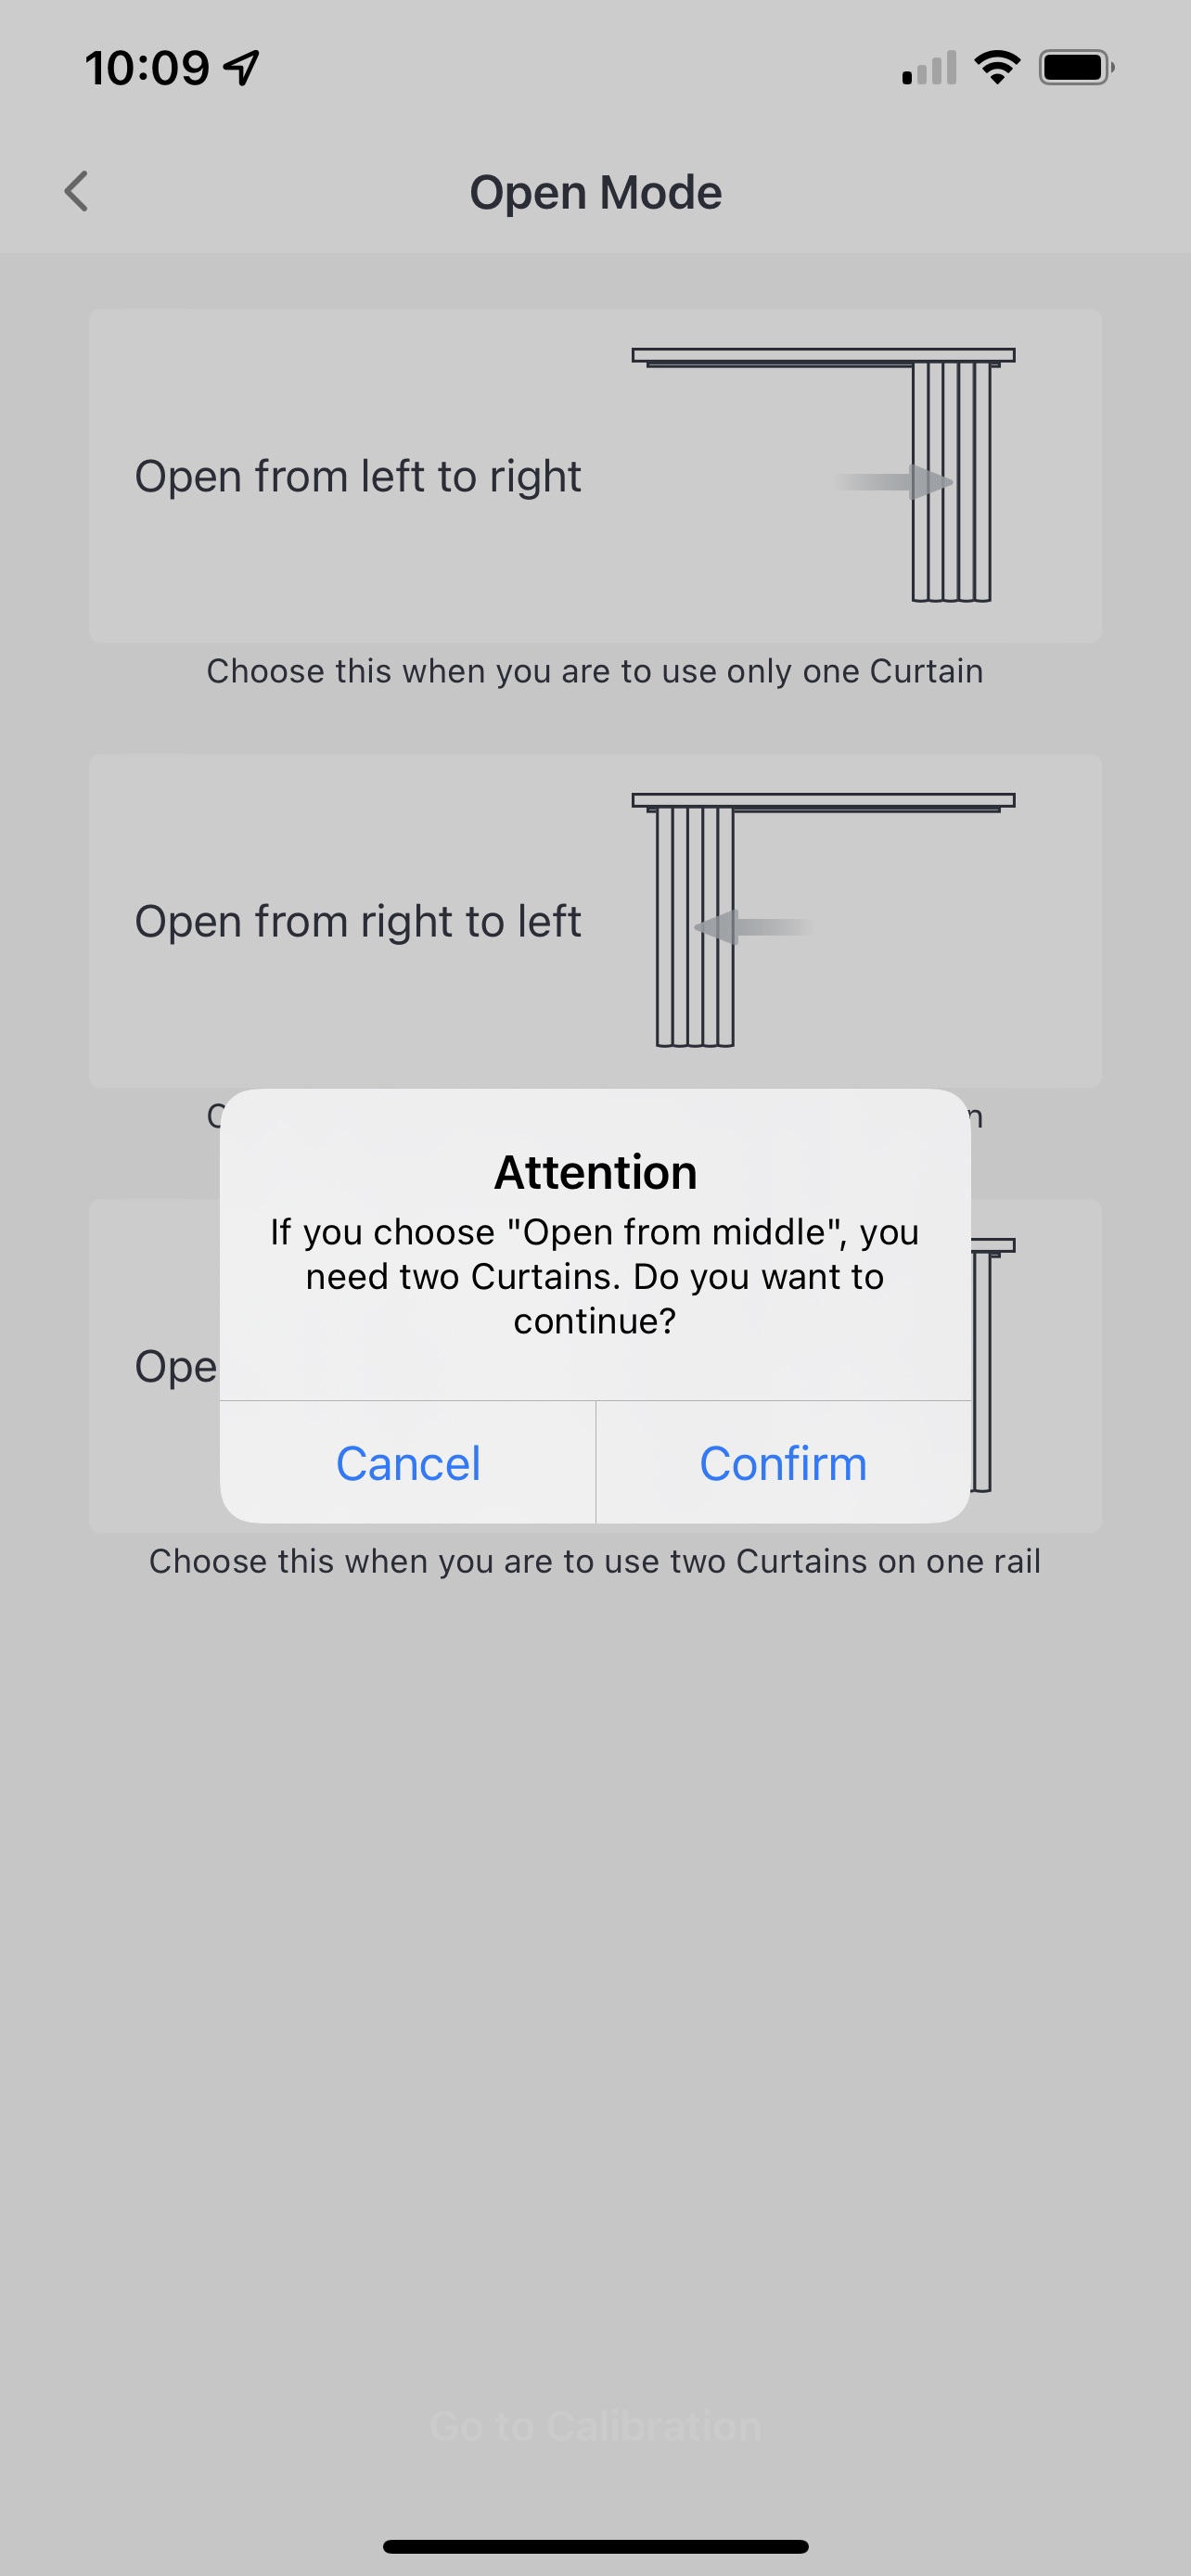
It'll then take you through a series of videos and pictures on how to install the bot. Then it'll ask you if you want a curtain that opens from left to right, right to left, or from the middle. All of my curtains open from the middle. I then had to confirm this, and then add a 2nd curtain bot.
Once you have the two bots defined, then you go into calibration where you will, essentially, create the points where each curtain is fully opened and closed.
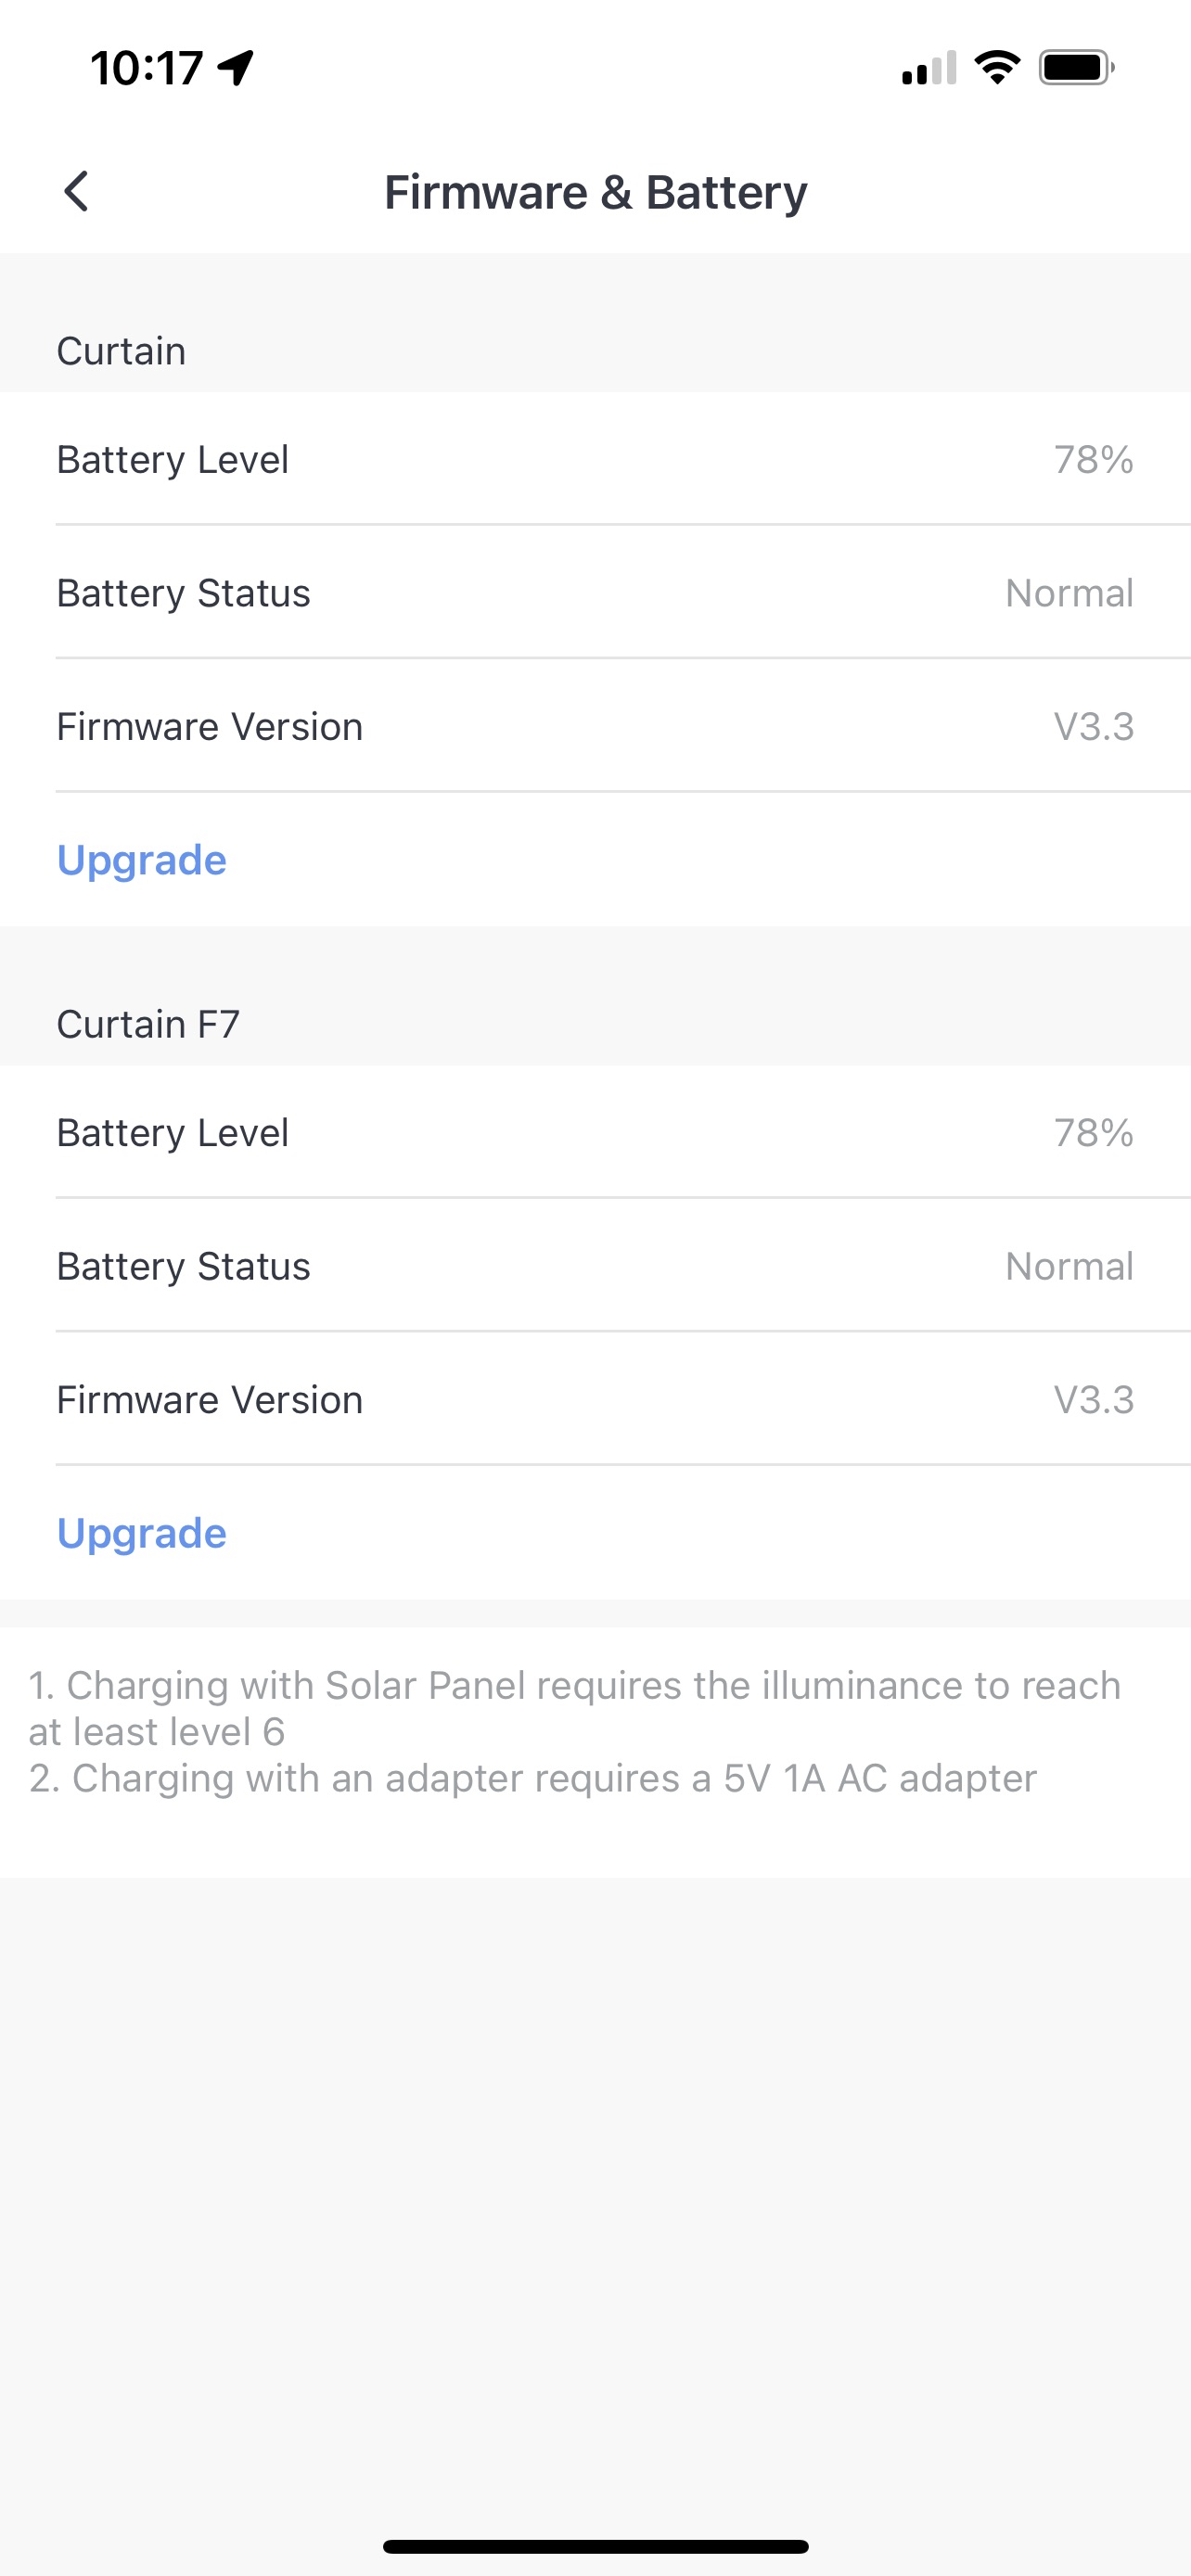
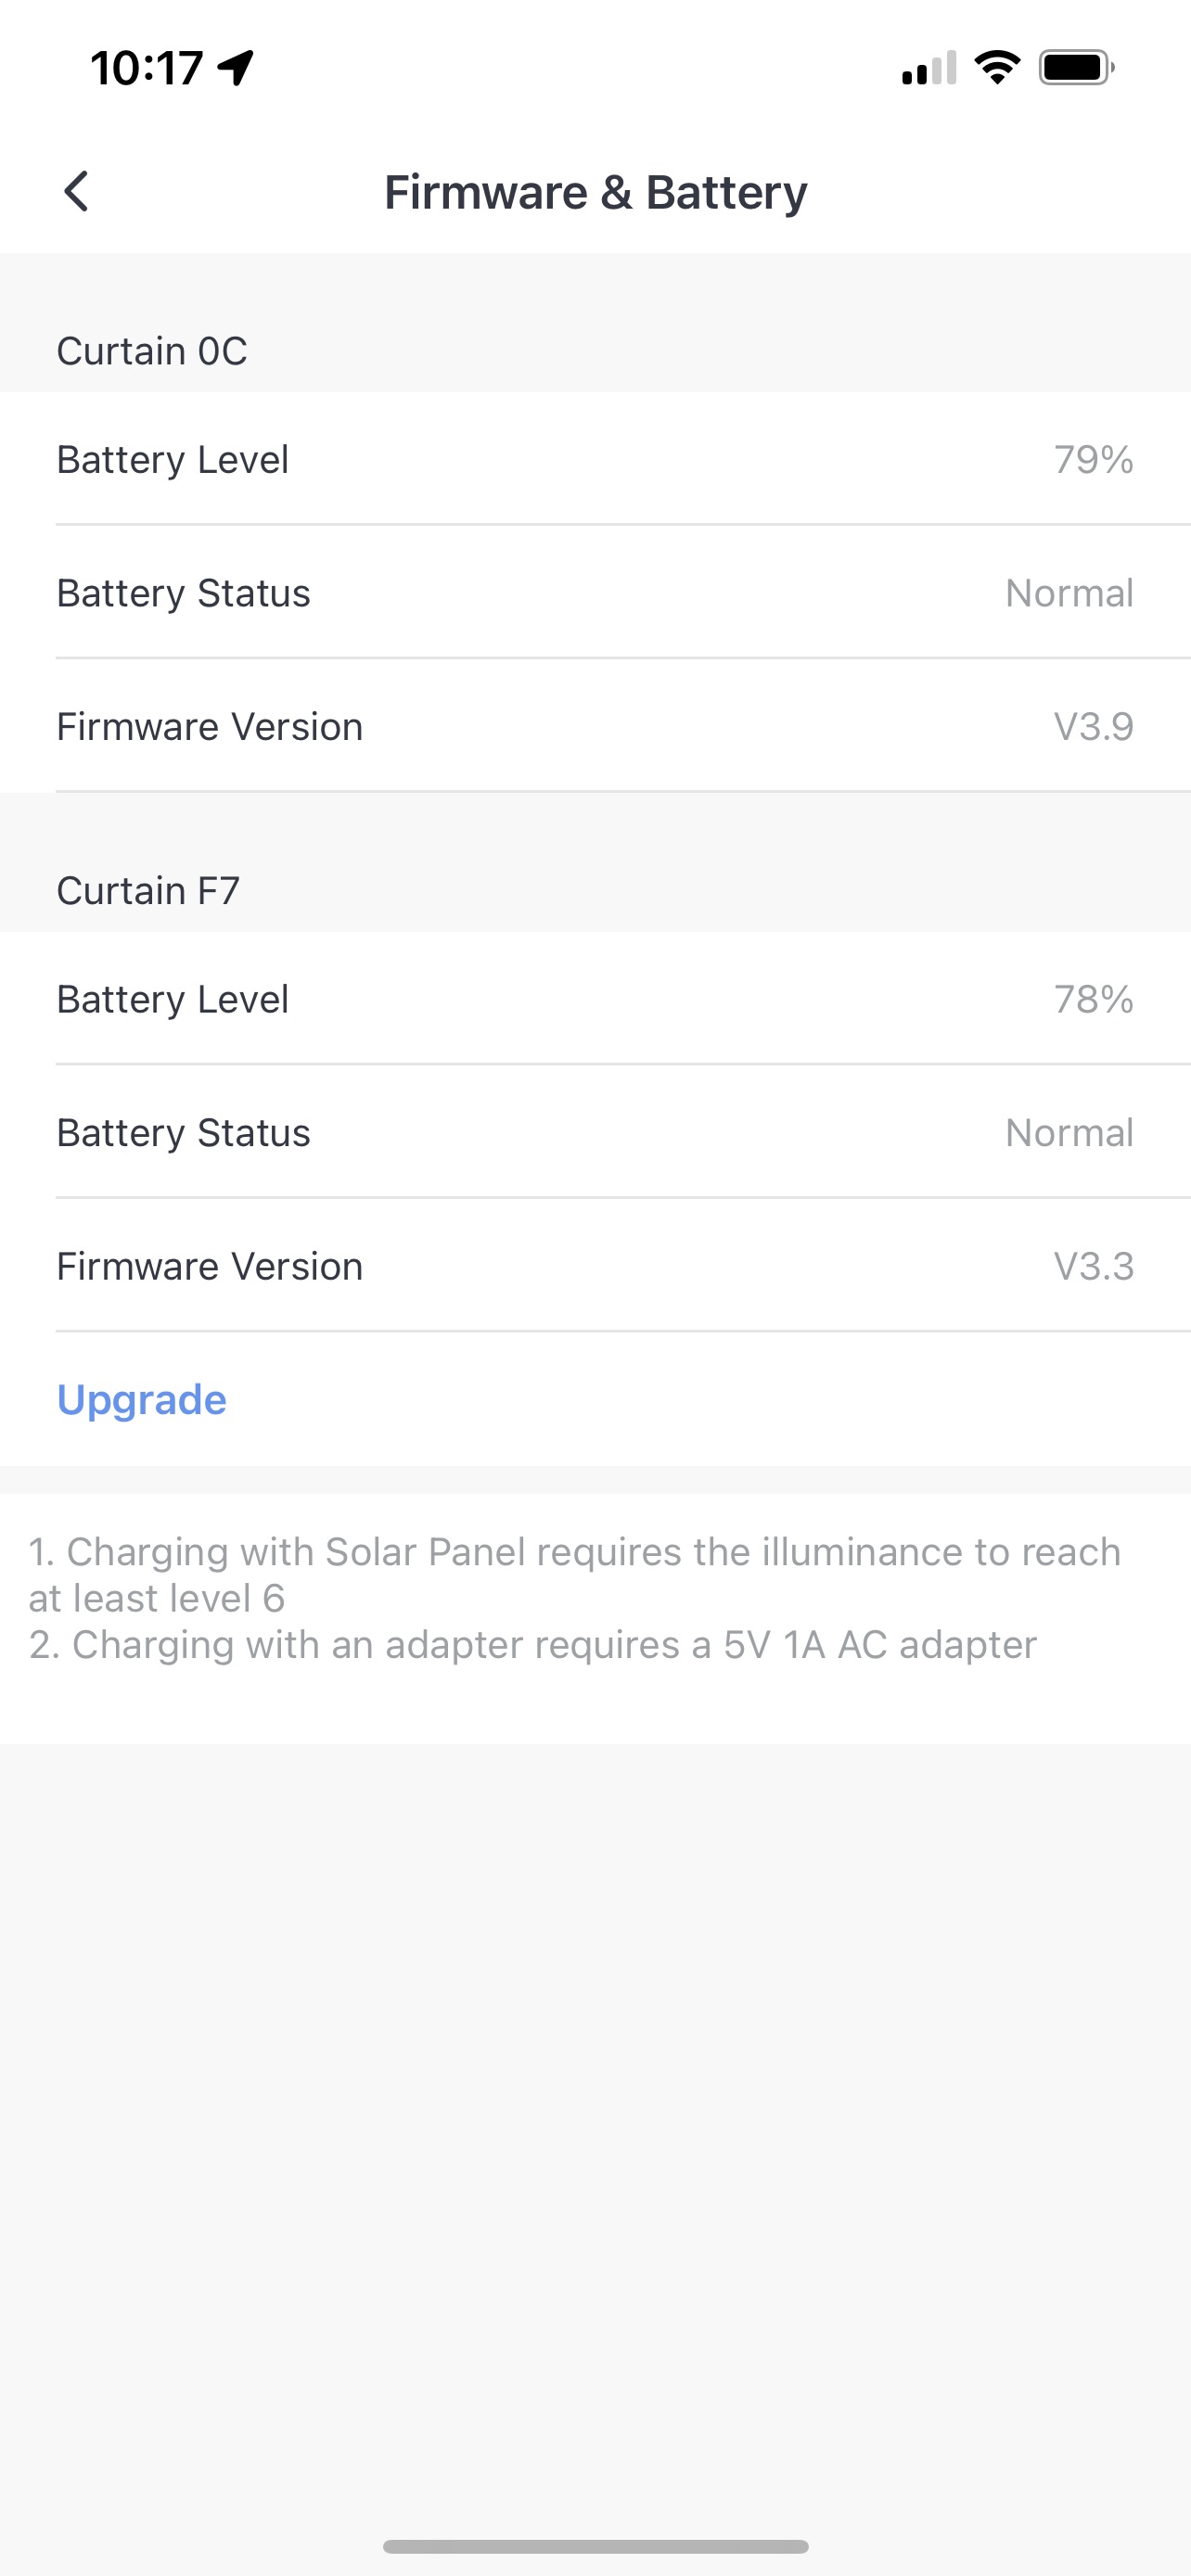
You have then configured your curtain and, in my case, it was now asking for an update (The red upward arrow in the top right of the bot icon). Rather unfortunately, it only lets you upgrade the bots one by one rather than all at once.
Solar Panels
For me it was then to add the optional Solar Panels to keep the batteries charged. Now it says you need an "Illuminance Level 6"for the panels to charge. I have no idea what that is... but what I do know is that with my south facing curtains (Which happens to be all of them at the moment) they are achieving that in the morning as I write this in Northern Hemisphere summer before I get out of bed. I have no idea how it will be during the winter.
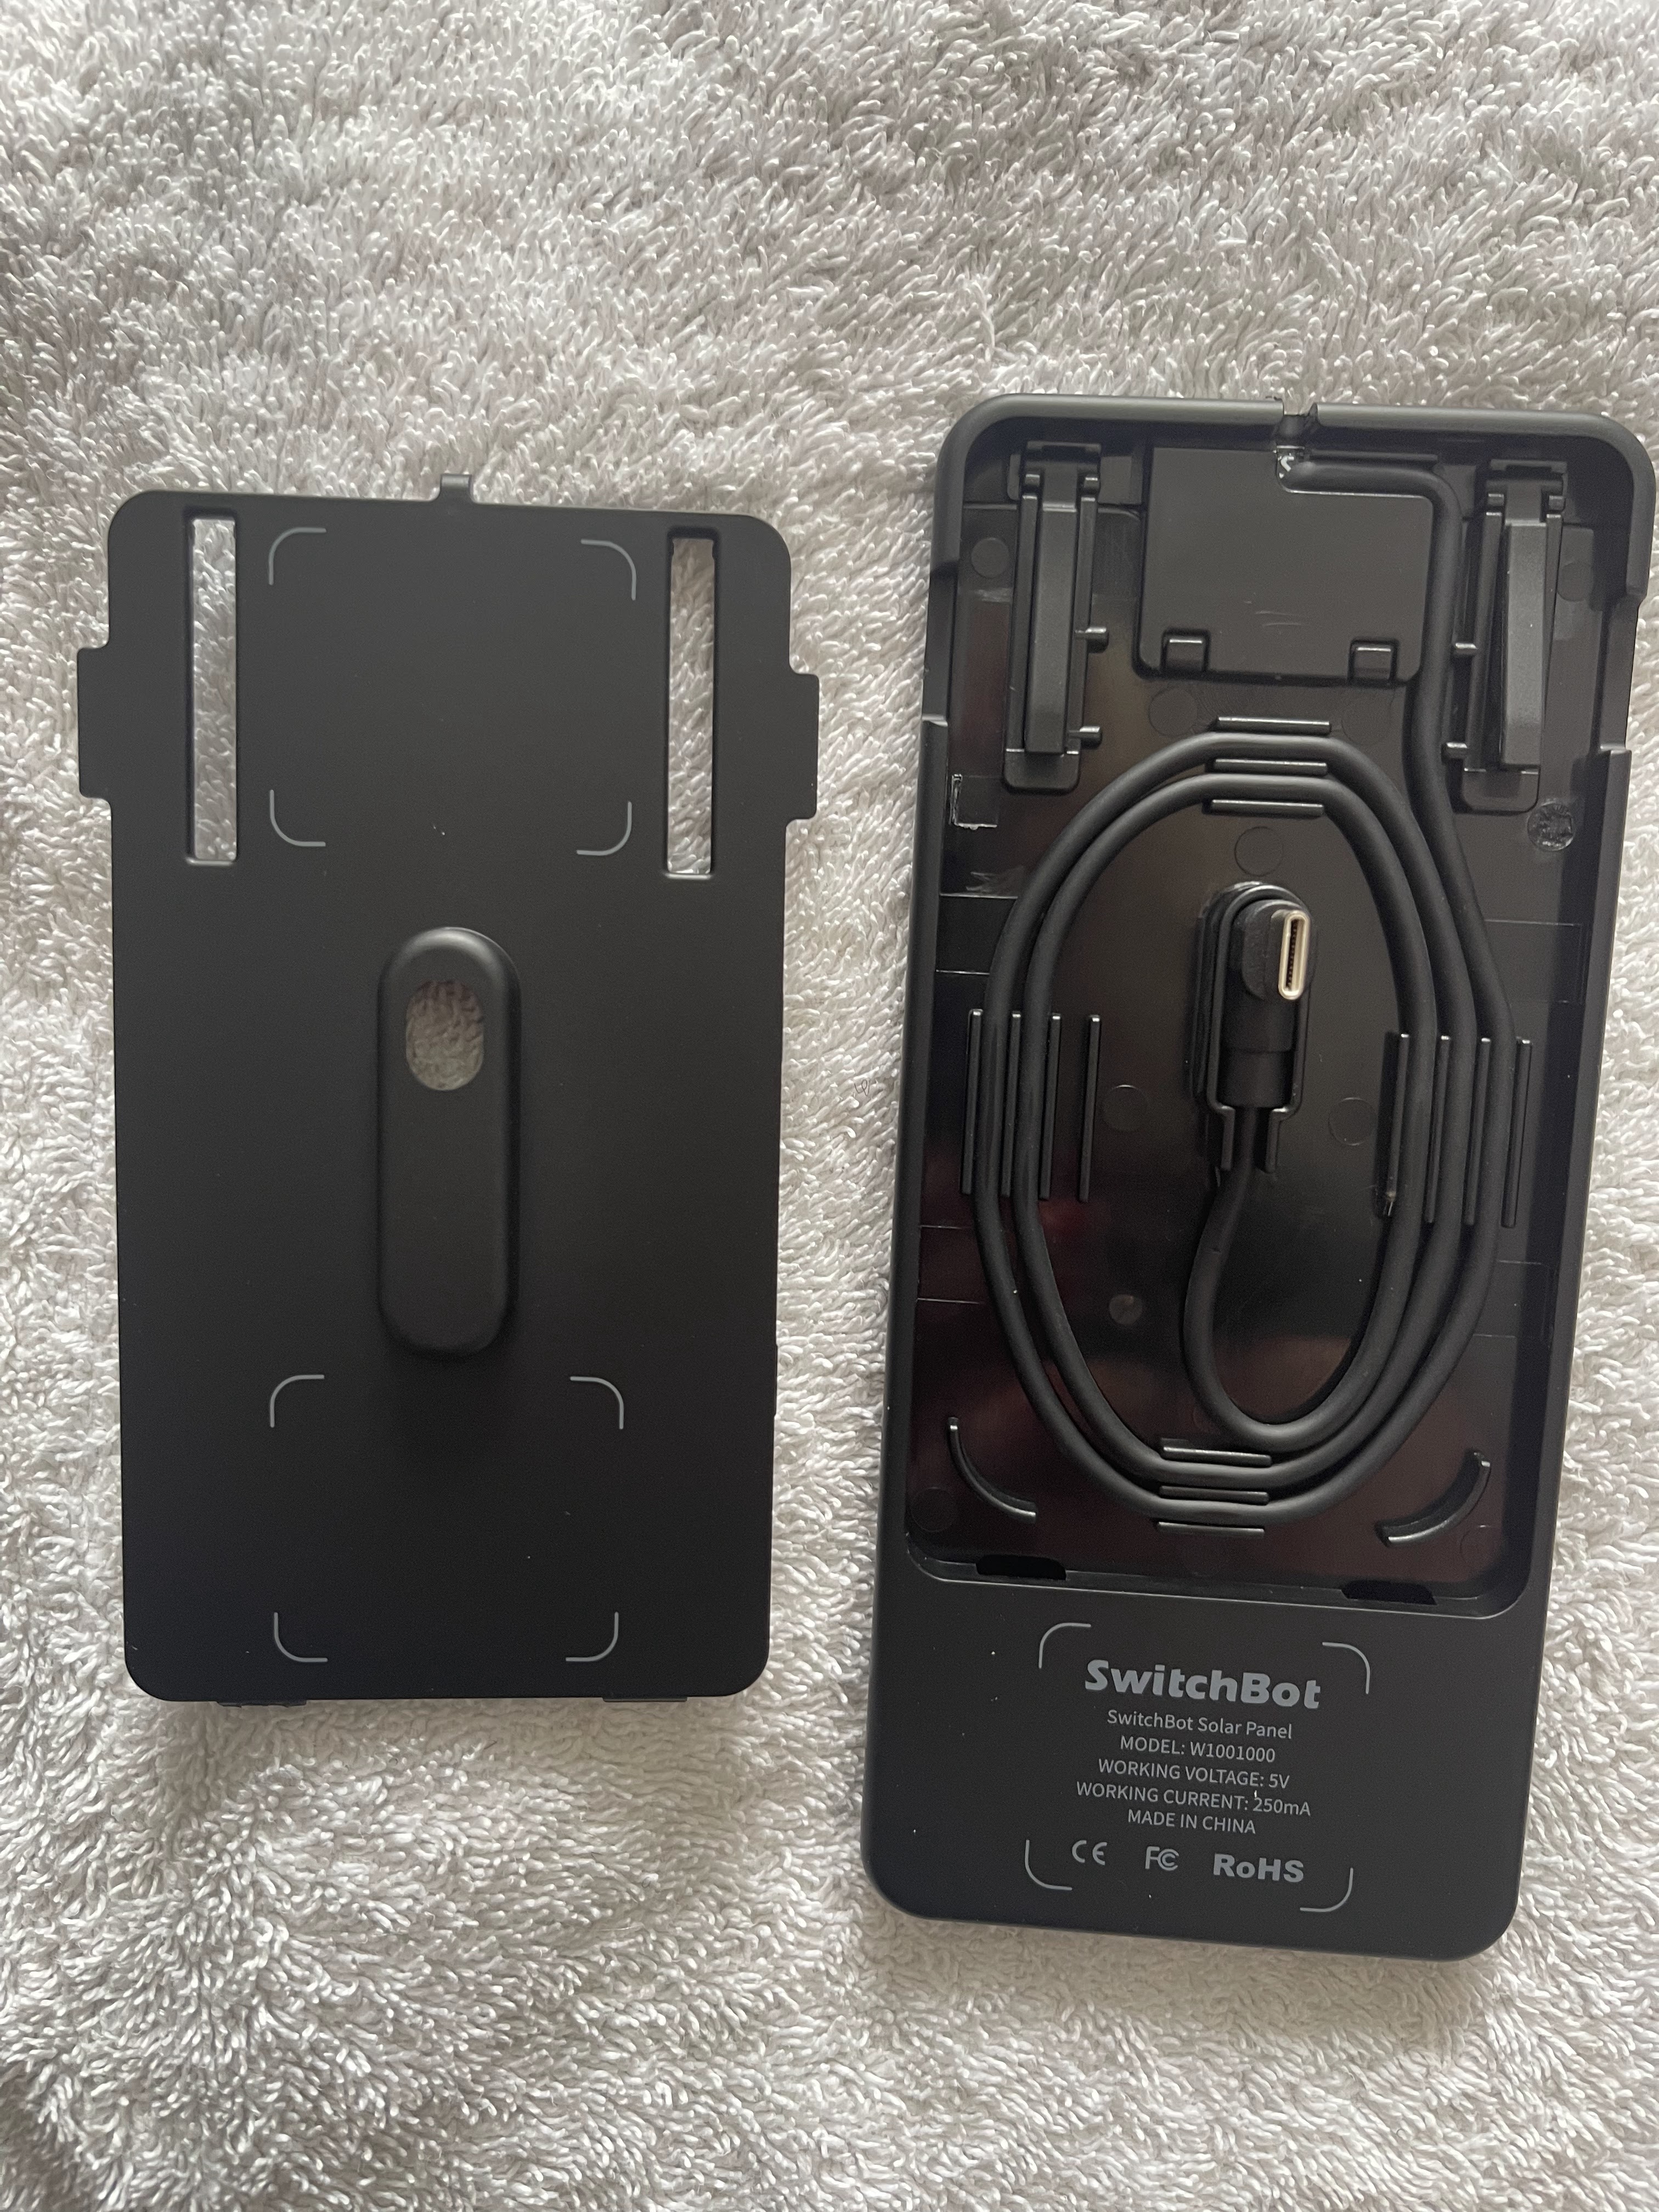
They are easy to install, fitting into the USB-C slot on the back of the bot and with two arms that clip near the top. They are quite ugly, and much larger than the bot.... but they are on the outside of the curtains so you don't see them.
What happens if your solar panels are covered by the wall?
I still have no idea on what "Level 6" is for the solar panels, but I did find that my panels were, at least partly, hidden by the wall. Obviously this meant that they could not charge.
SwitchBot have thought of this, and you can have the solar panel remote from the bot. However, I wouldn't exactly say that the instructions are obvious and, I must admit, I'm not entirely sure I like the solution.
You can see, here, that there is a shaped velcro strip with covers for the sticky parts to be removed. You can also see the placings on the panel.... but how do you get the charge from the solar panel to the bot? After all, the supplied USB cable is USB-A to USB-C, so that doesn't work.
The answer is, there are some clips on the side, and one on the top. You open those, and.....
inside you can see that the USB-C connector is actually at the end of a cable. Now I do think that is rather clever.
You can then unwind it, and have the cable exit from the top (Sorry, pic is upside down).
You put the Velcro patches on the back, and now stick it to your curtain. This, I must admit, is the bit I don't like. I'd rather it was stuck in the corner of the window with the USB-C Cable running from there into the bot. I know you can't see it, because it is outside on the curtain... but it's still not neat.
Integration with HomeKit
As I had already installed the
SwitchBot plugin, all I had to do was restart Homebridge, and the curtains appeared in HomeKit.
Automations
I've only done 2 so far.
The first, and relatively easy, is that when I turn off my bed side light, during the day, the curtains open.
The second is a bit more involved. Basically, if the telly turns on and any amplifier input, other than the record player, is also on it closes the curtains.
Lastly, I have modified my sunset routine so that it now closes curtains as well as blinds.


Comments
Post a Comment