 |
| Shelly 2.5 Relay switch |
When I initially wrote this, I was staying at a friend's house who had bought a few Smart Home products, but had created islands of devices and had not thought about a platform to run them all on, even though they are an Apple centric home, with iPhones, Mac's and an tv HD.
For lights, they had bought and implemented 2 TP-Link bulbs/globes but hadn't thought about if they switch off at the wall, then the lights lose their power.
I was there one day and started talking about HomeKit and Homebridge. I have now implemented their Nest devices into HomeKit, via homebridge, and also their TP-Link bulbs/globes.... still it was time for a more serious conversation about what they wanted from lighting.
As it turns out, they don't want colours or anything fancy.... they just want to switch lights on and off. OK, so should be simple right? Just replace the light switches with smart ones! Ah, but this is the UK. Not so easy:
- They already had very nice brushed stainless steel light switches and outlets
- The only official option is Lightwave RF which requires a hub.... and they aren't low cost at all.
There was another requirement, and that was that anything implemented had to be CE compliant, at least, or the new UKCA, which has come about because of Brexit, if possible.
The only device I could think of was a Shelly Relay.
Shelly Relays
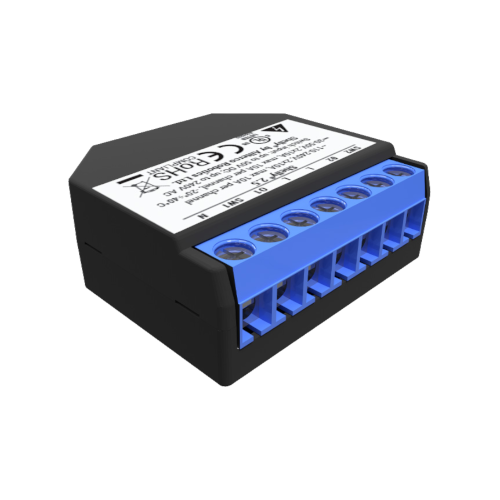
So, what is a Shelly relay? Well these are quite small devices that are generally designed to sit inside a wall switch box and they can be exposed to various Smart Home automation hubs, such as Amazon's Alexa, SmartThings and Google Home. This is done via the
Shelly Cloud.
What they enable you to do is turn a dumb switch into a smart switch or, if you want, enable you to add a smart switching capability to any circuit. The Shelly 2.5 can also work for a roller shutter, for example.
We ended up buying a 2 pack of Shelly 2.5 as a test. a Shelly 2.5 enables you to do a dual switch as long as both switches are on the same circuit. It does have 2 x Live inputs, but these are joined and are meant to be used to increase the overall load possible from 10A to 20A. So, you can't do 2 switches in the same switch box that are on different circuits. You also can't do 2 power sockets, as they are 13A each.
Also, you should note that the Shelley relays are of different sizes. Ironically, the smallest is the 2.5, not that the Shelly 1 is much larger. However, you do need space in the wall box to put the Shelly relay in there.... so check first!
<update> This actually went so well that we also bought a bunch of Shelly 1's for the single switches.
Integration with HomeKit
However, these are not HomeKit compatible out of the box.
This left me with 3 choices:
- homebridge-shelly, or
- shelly-homekit
- Ravenscore
All of these are great solutions, and the homebridge-shelly supports way more devices, but it still requires homebridge. Yes, we had one running, but the point of homebridge is to disappear and my view is that, as much as possible, you should run native homekit. As the other major devices in this home are Nest, and they are probably going to be Matter compliant in the future, I'm expecting Homebridge to become redundant in this house.
Shelly-homekit only supports the relays and plugs, but that is all we needed. It turns a Shelly device into a HomeKit device. Using this also means we can retire Homebridge in the future. It is also an OTA (Over The Air) update which makes it nice an easy to implement.
Ravenscore is probably the most flexible and comprehensive of the solutions, and it does enable direct HomeKit accessory configuration. However it is much more involved and, for the life of me, I could not find a way to perform OTA. It also needs JSON configurations which I can do, but I have to leave this behind for my friend. Both of these issues made me discount this as a solution.
Shelly-homekit
This actually updates the firmware on the Shelly relay. This is not as difficult as it may seem, and it should not scare you away, as it is OTA (Over the Air) and it can be undone if you wish.
First of all you need to connect your Shelly device to mains power. I had a length of cable with a plug on it. I connected the Neutral (Blue in this case) and Live (Brown) up, plugged it in and switched on. Within a few seconds the Shelly relay appears as a WiFi device. You connect to that WiFi device and then, if you look, you'll see that your IP address has changed. Mine was to 192.168.32.2, this means that the Shelly device was 192.168.32.1
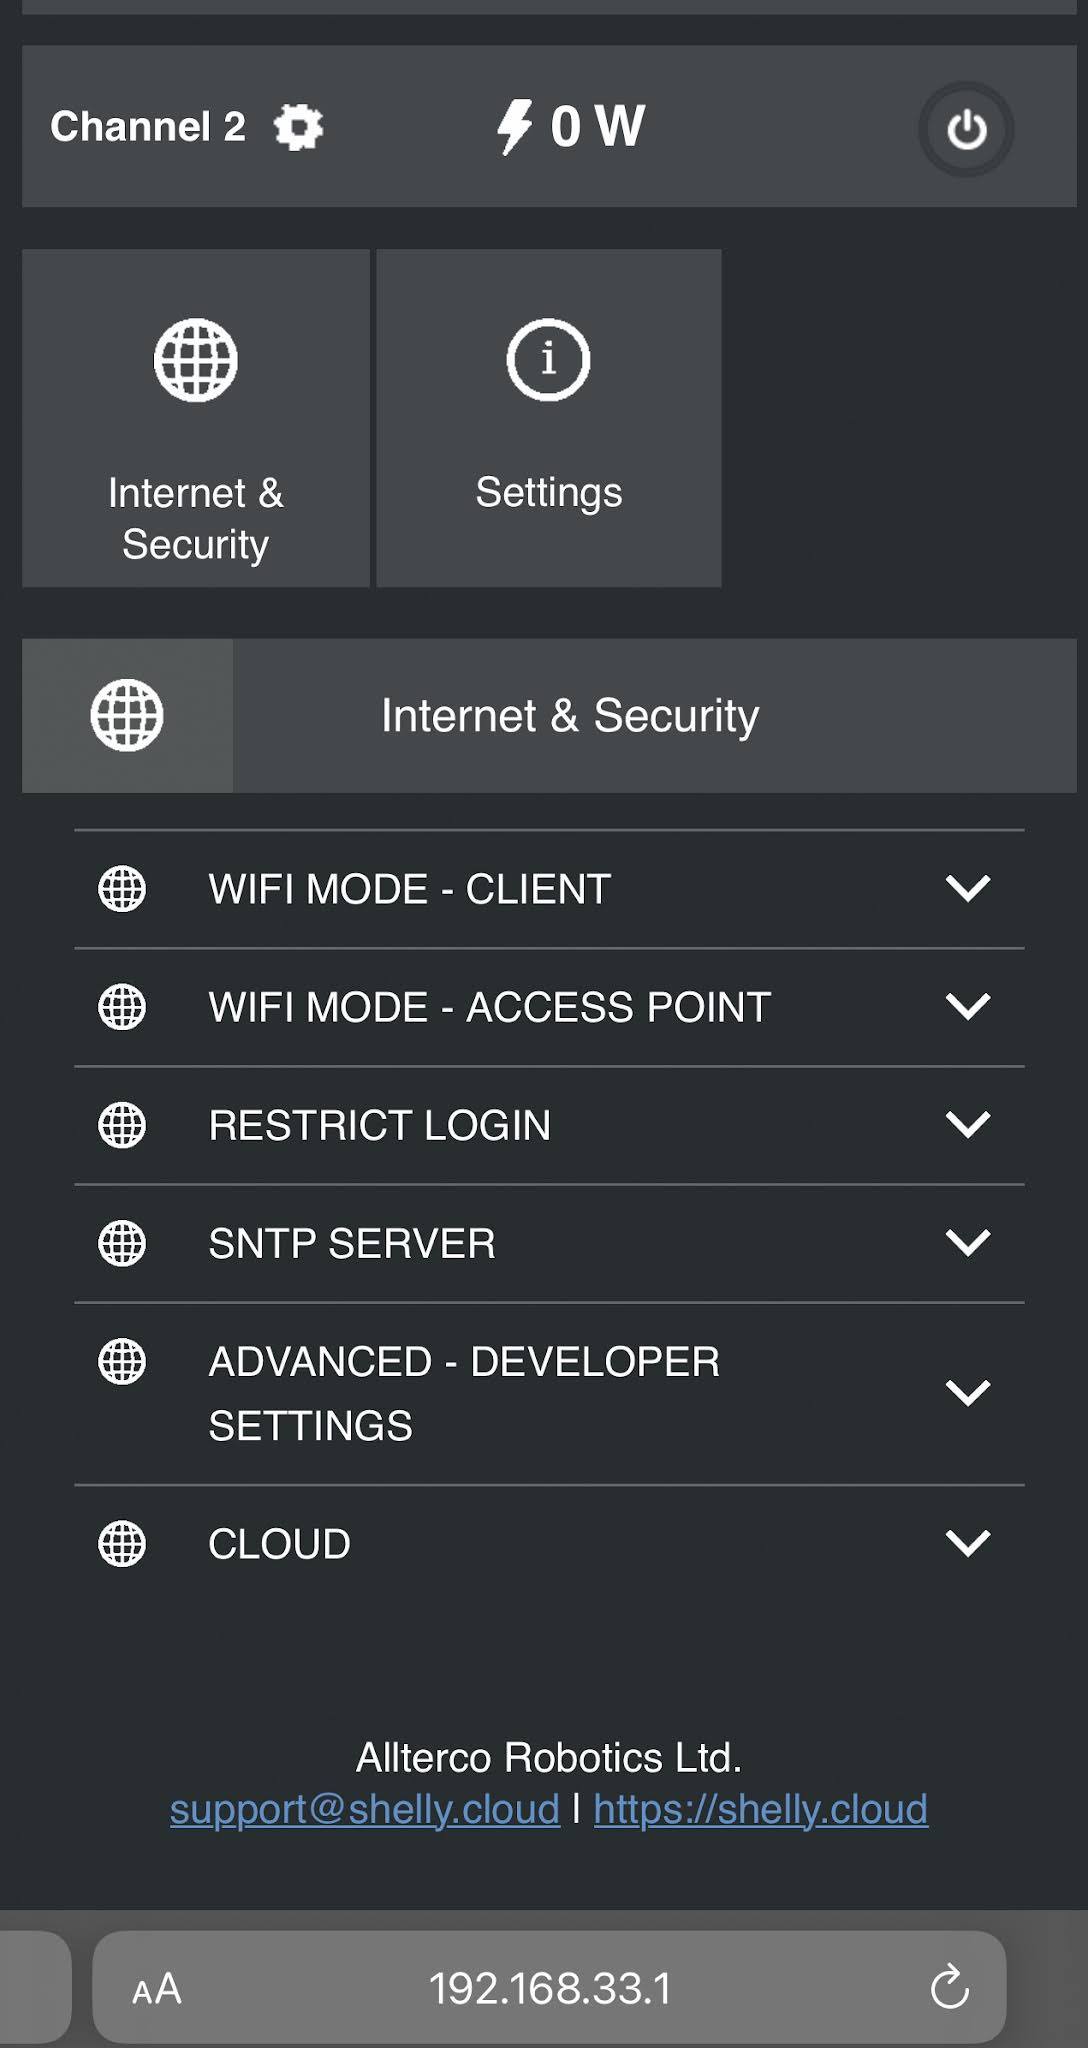
What you do now is use your browser to connect to the Shelley address identified before. For me, that was 192.168.32.1 . It will then show the Shelly web interface and you can now change the WiFi settings to be your WiFi.


You select <settings> and then <WiFi Mode - Client>
You input the WiFi name and WPA password, if it doesn't work it will revert to factory. Assuming you have set it up correctly, you will have to go to your router to find out its new IP address on your network.... having said that, one of the options is to define a permanent address if you wish.
Having got the new IP address, you can now do the OTA.
The address of my Shelly was now 192.168.68.127
In the browser, type:
http://A.B.C.D/ota?url=http://rojer.me/files/shelly/shelly-homekit-Shelly<type>.zip
where A.B.C.D is your local IP address and <type> is the device type you are flashing. See the Github page for the correct firmware.
In my case as I was flashing a Shelly 2.5, the URL was:
http://192.168.68.127/ota?url=http://rojer.me/files/shelly/shelly-homekit-Shelly25.zip
A Shelly 1, with a. different IP address, the URL was
http://192.168.68.131/ota?url=http://rojer.me/files/shelly/shelly-homekit-Shelly1.zip
It will then update the firmware
You also have the option to donate. I'd highly suggest it, as it is because of the work that these people do that gives us these amazing capabilities.
When the firmware has updated, you can now set up the switch. The Shelly 2.5 will actually appear in HomeKit as a bridge with 2 switches attached, the Shelly 1 just appears as a switch.
Under General Settings you create the name of the bridge and what the relays will be doing.
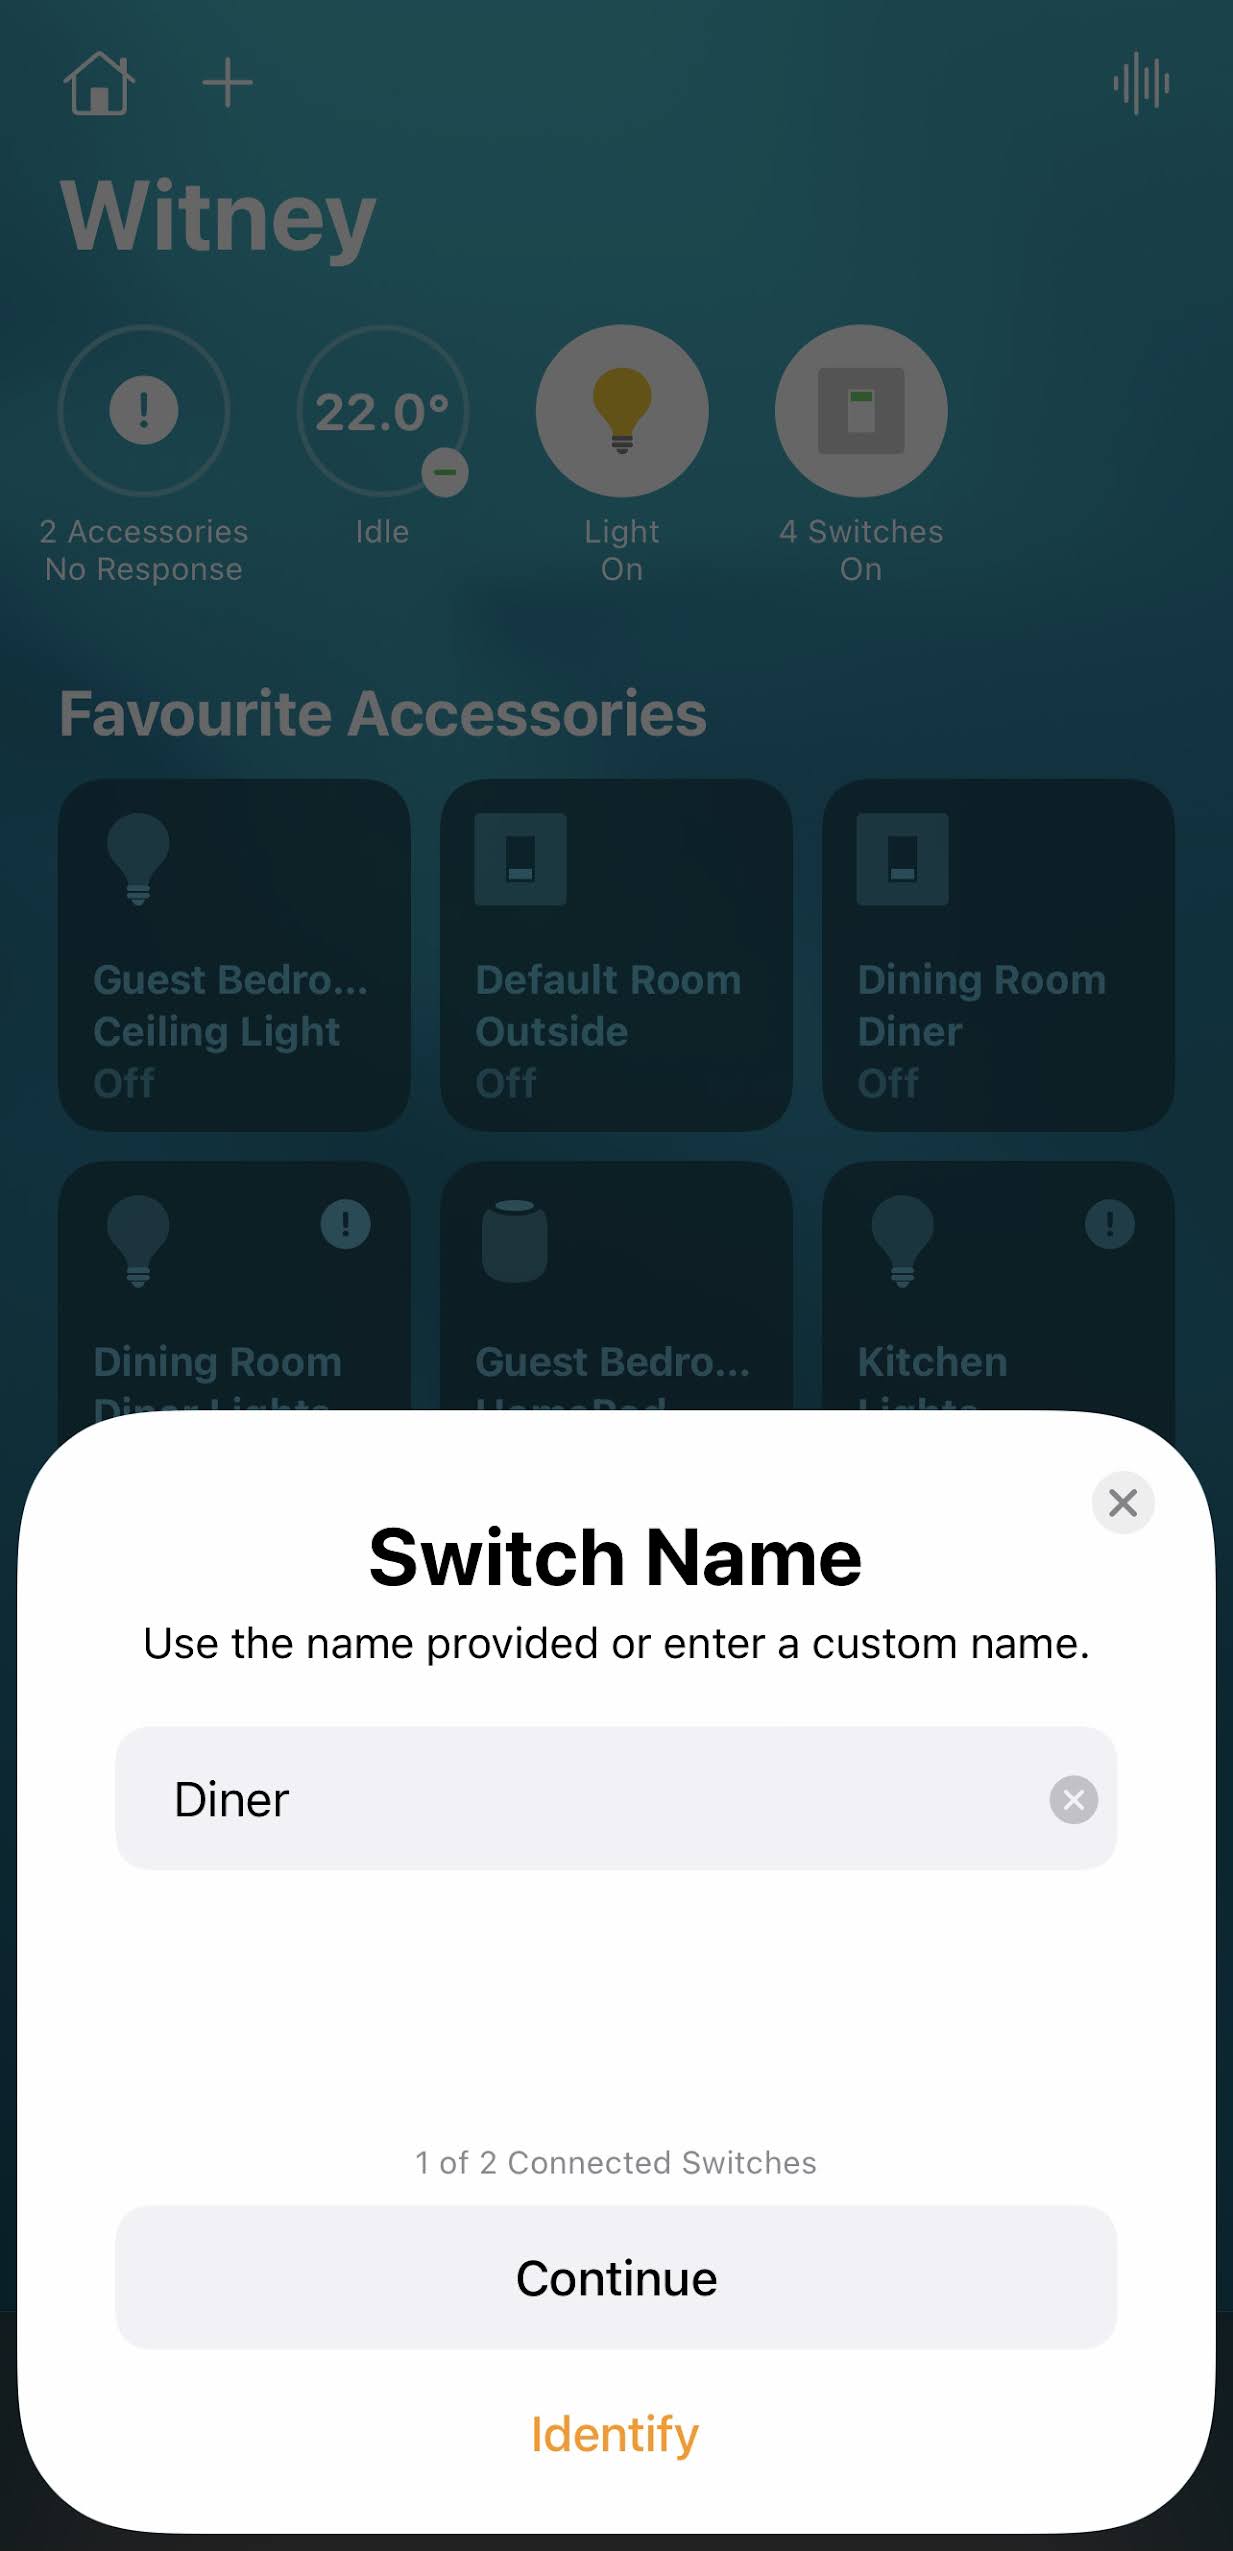
This dual Relay is to do the lights in the Diner and outside, thus "Dineroutside". You must press <save>
Then I defined each switch. You give each switch a name, here I'm showing Diner. There are various options, but the one you really only need to know about if automating a wall switch is that you set <input mode> to <toggle>. This will now work with the physical switch. Press <save> again.
You do have the option to set up a password for the web server on the switch. I'd highly recommend it. I just haven't shown it here.
You then reboot the switch and reconnect via the browser. You'll optionally have to enter the password created.
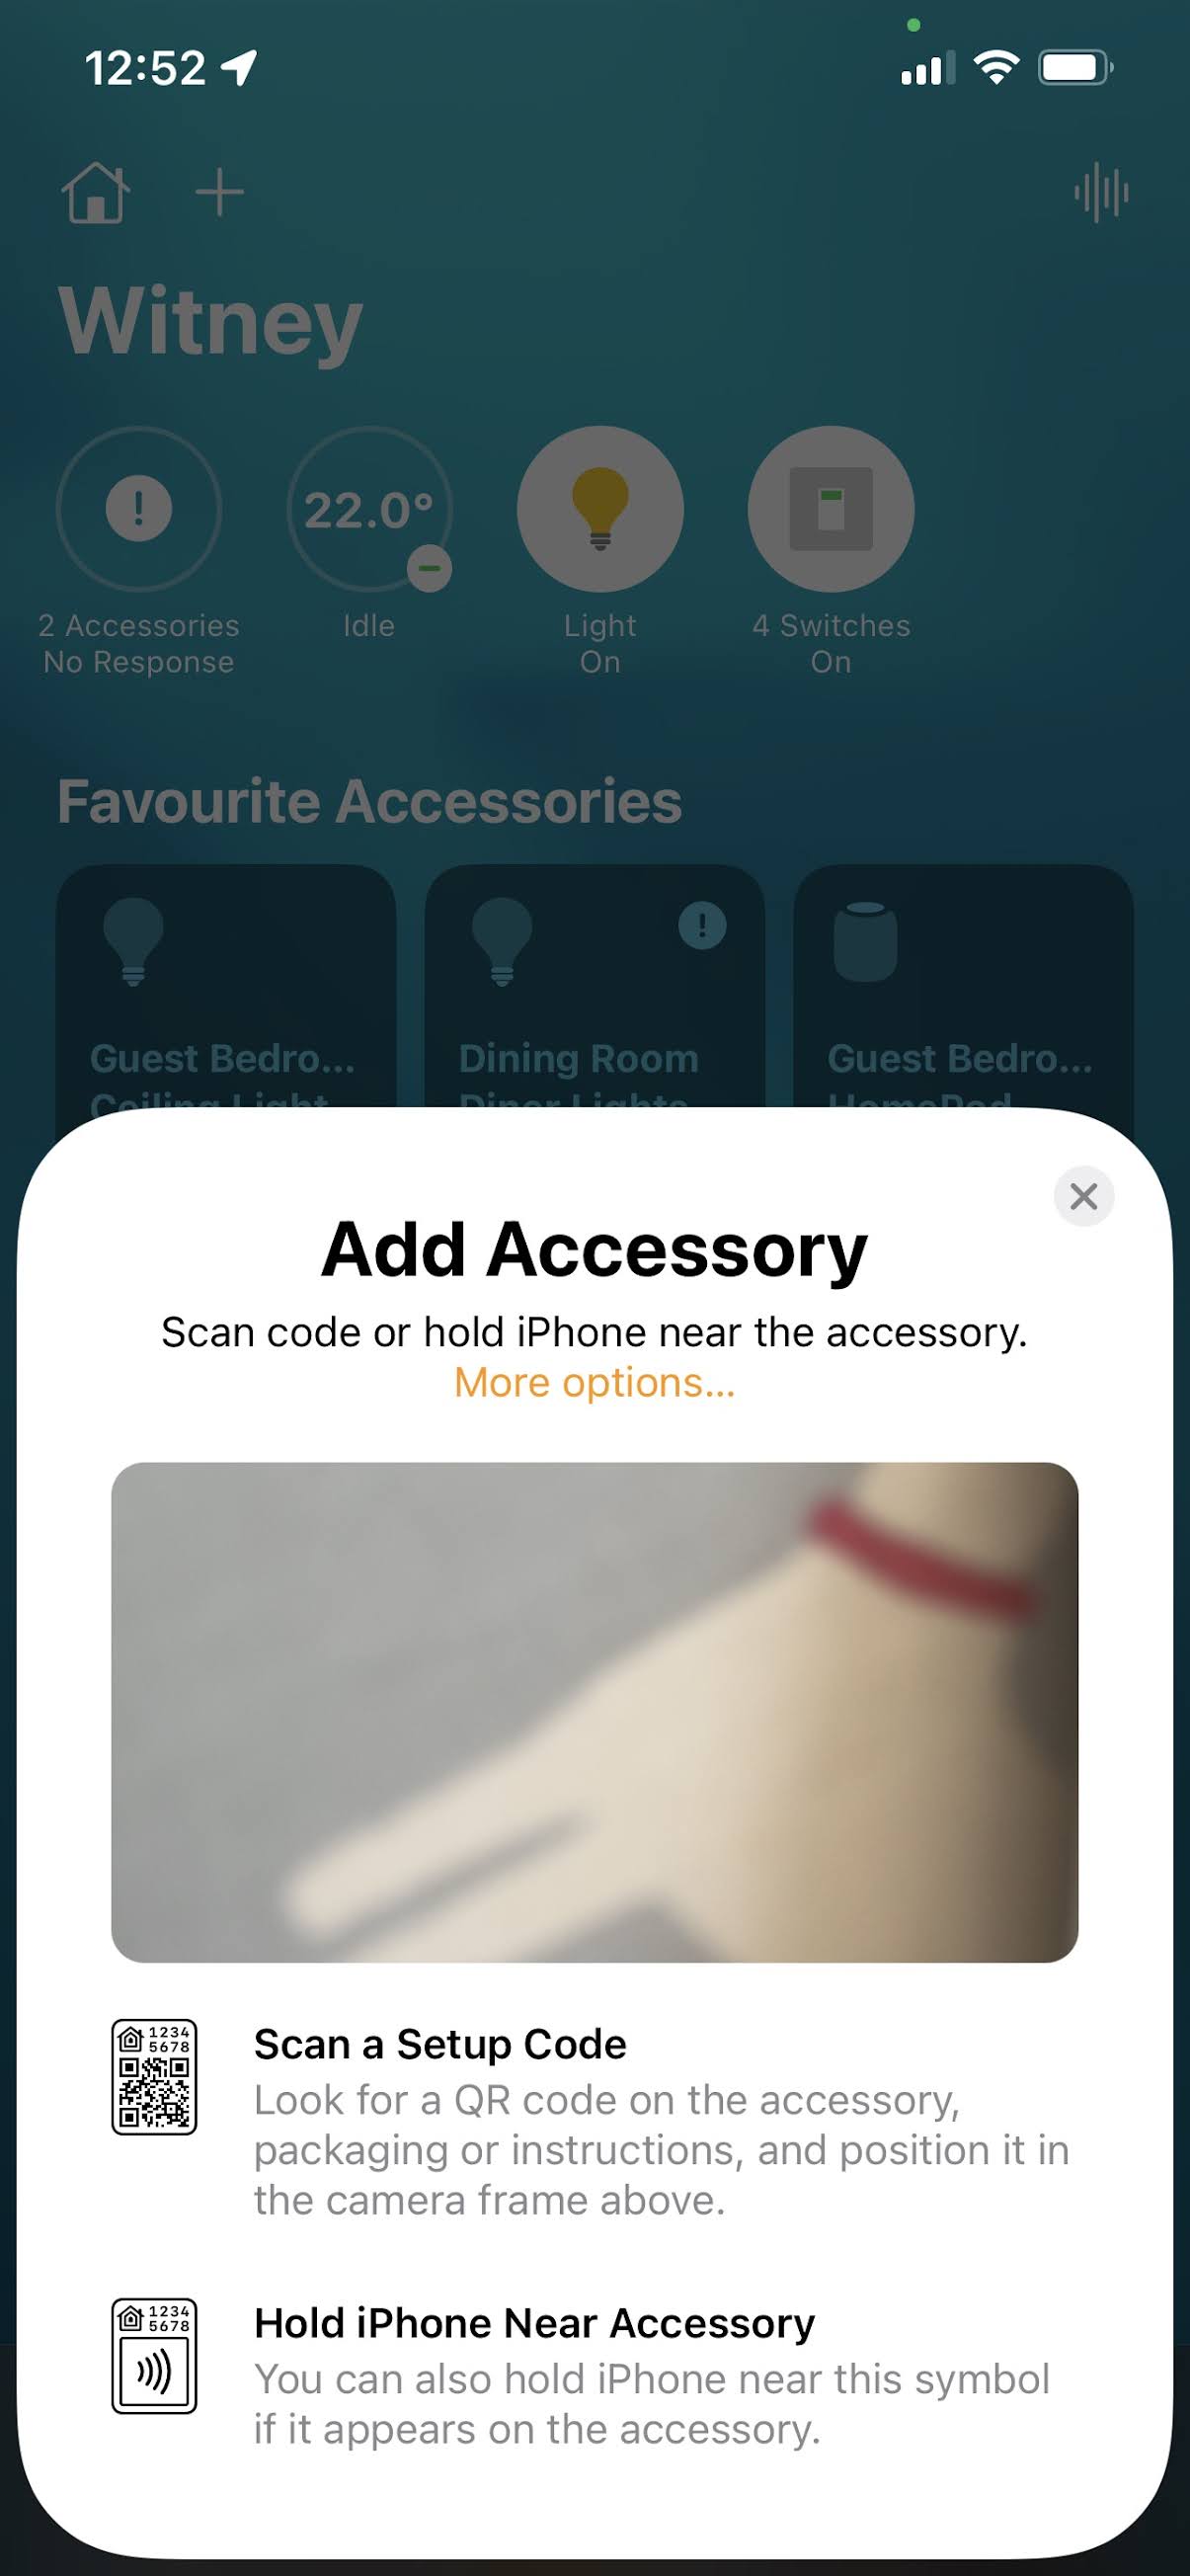
Now you click on HomeKit settings and it will generate a HomeKit code and barcode. I found that I had to manually type in the HomeKit code, probably because it is an unsupported device.
The Shelly 2.5 shows as a bridge first, the Shelly 1 does not.
Next you will set up each individual switch, I've just shown 1 of the 2.
They will now appear in HomeKit as normal.
Now you need to wire them up.
This is actually quite simple with the 2.5
You add an extra wire from the Live input on the switch to the Live on the Shelly. Neutral is just taken from the neutral wires. The other side of the switch would have the live going to the light, you now connect that to the output on the Shelly, and then add another wire from the switch output to the SW terminal on the Shelly.
The Shelly 1, for a lighting circuit, required the output to go from the terminal marked 0 and there was an extra live wire to go into the terminal marked 1. This is exactly the same as the live feed. I did try using. jumper cable, but there just wasn't enough room.
Job done! You have now made a Dumb Switch Smart!
<update> Shelly 1L - Light Switch without a Neutral.
I've now bought my own home, and the wiring is pretty old. It's certainly done before the EU standards came into the UK, and it has Black (Neutral) and Red (Live) Wires. It is also, mostly, not built with Neutral going to the switches, unlike my friends house. So most Shelly's are out. However, Shelly does do the 1L, which does not require a Neutral.
One of the things about my house is that it used to be, partly, a garage workshop, and so there are fluorescent lights all over the place. In some areas I have replaced them with Light Strips, in others I did n't want to spend the money as I'll be changing the house and wanted to just update what was there. One of those parts was the Shop which is entered from outside, or through the kitchen... even though it is part of the garage (The joys of owning an old building). One day, I want to knock down what is there now, which was built in 1962, and restore the facade of the old cottage that used to be there. So, my interest in investing in that part of the building is close to zero. And so the Shelly 1L looked perfect.
It's actually not that hard to wire up either, but I did have to buy a deeper back box to accomodate the Shelly relay.
The above diagram shows a 2 way switch, but mine was just one single switch, so SW2 was not included.
So, the live wire went into 'L', and the other wire that was originally in the switch, which take step live load to the Light, went into 'O'.
Two short wires going from the original switch. One going to 'Sx' and the other wire going to 'SW1'.
It almost worked.... except the light kept starting/stopping.
Some investigation on the Internet showed I probably needed a Bypass, which would have cost virtually nothing if I'd bought it when I bought the Shelly 1L. Shipping was more than the Bypass!
This went across the light. I actually installed it in a junction rose that was on a rafter, which ws where the live was taken off and went down to the switch. I located the wire coming back up from the switch, and also the other wire coming back from the light. The Bypass crosses over the two wires, basically, that feed electricity to the light. It makes sure that the Shelly 1L has enough power to, pardon the pun, "keep the lights on".
When that was installed, the Shelly 1L worked perfectly.
All I then had to do was flash it, as I had done with the Shelly's at my friends house.
Once more, because this is a 2-way Switch relay, the Shelly showed up as a Hub with 2 accessories, each being a switch. In the UI you can actually hide a switch if you wish.


You might want to also look at https://github.com/RavenSystem/esp-homekit-devices/wiki . It's not just for shelly but any ESP based stuff. I use it with Sonoff and some other unbranded ESP based switches and it works nicely. Playing with JSON configs takes some getting used to though.
ReplyDeleteThanks. I should update with that. I initially discounted it as I wanted something simple for my friend to maintain, and also because I didn't want to go through the hassle of using the pins to perform the update. If only it was OTA I may have considered it.
Delete