The practical side of home automation using Apple's HomeKit. This isn't a professional blog, but documentation of my experiences.
What may be of interest is that it starts with my 1916 home in California, and then moves with me when I moved to the UK in 2021 and moved into a 400 year old house/garage that had been "updated" in about 1850 and continually modified afterwards until the early 1990's.
It is definitely a tale of 2 continents, learnings, and different technologies.
As I've mentioned before, I live in an old, for California, house. Built around 1916/1917 and, obviously, they didn't take Smart Homes into consideration. Indeed, I believe they probably though Electricity was something new fangled and modern! So, I'm continually adapting the home to bring it up to date without being too intrusive.
In the Master bedroom we have a double wardrobe, as you can see. When we first got the house it had a light inside that was operated by a pull cord. This meant you'd open the wardrobe, grabs around inside the dark wardrobe and look for said cord. Not very user friendly.... and ripe for improvement.
Phase 1 : Make it more user friendly
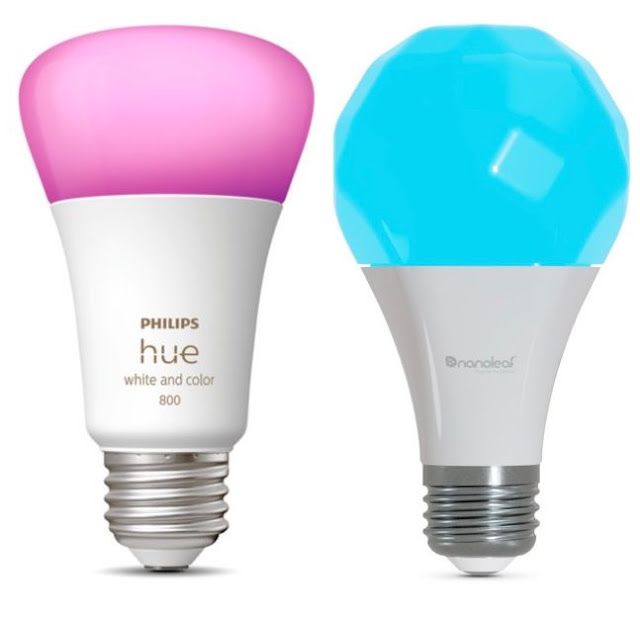
First off was to replace the socket in the ceiling of the wardrobe with a normal one, and then put in a Hue white bulb/globe. You don't need anything fancy for this, such as ambience lights, it's just illuminating the wardrobe! It should go without saying, but I already had a Hue Hub.
This now gave me voice control. I love voice control, but my partner doe snot and so a switch was next. Initially I had a Hue Tap Switch but, as I've explained before, these are not intuitive so I later replaced that tape switch with RunLessWire Friends of Hue Switch. Has teh same functionality, is about the same price... but it is intuitive as it looks like a normal switch.
These come with 2 configurations:
2 paddles to give you the 4 options of Hue, or
a Single paddle so it looks like a normal switch
In this case, we were only operating the wardrobe, so no need to over complicate things. I went with the single paddle.
Brilliant! (Pun almost intended) we now had a user friendly light in the wardrobe.
Phase 2: Automate it
Obviously the way to automate is use Contact Sensors. When the sensor no longer senses contact on the door, then turn on the light.
Choosing the right Contact Sensor
And this is where things started to not be so easy.
Initially I tried Vocolinc contact sensors. From what I can see, it looks like they've been updated since I bought mine as they certainly look different. However, what I found with the version I had was that the magnets were not strong enough. Their connection to HomeKit seemed reliable, but the doors had to fit perfectly in their frames and my house, being old, this was not the case. I could get the right hand door to work, but not the left as it doesn't fit the frame exactly. So, I'd say that Vocolinc would probably be good for a modern wardrobe/door when everything fits beautifully.... not so good for an old house.
I then chose Eve Contact Sensor. Mainly because it actually comes with some extra parts so you can built the magnet out towards the sensor. However, as you can see, I didn't need it in this case as the magnet seems to be strong enough that it can deal with a door that doesn't fit perfectly.
By the way, teh pink line is me drawing where the bottom of the sensor is so I knew where to place the magnet on the door.
Now I know when the doors are open, and so I can....
Automate it!
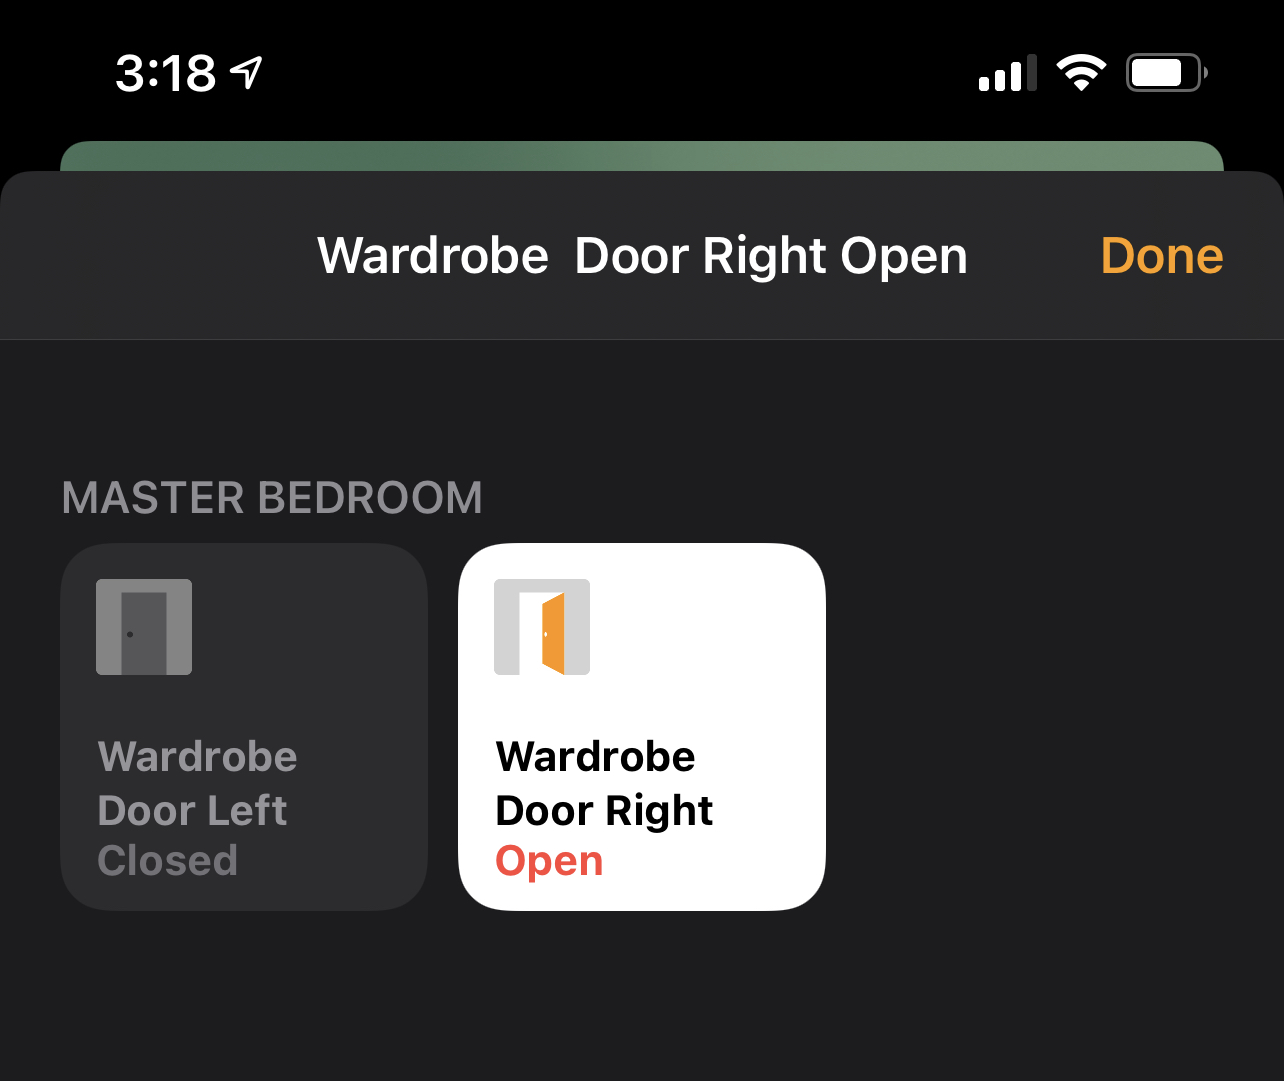
This isn't as easy as it looks, or sounds, in HomeKit. Mainly because I have 2 doors that have various options:
Right Hand Door is Opened whilst Left Hand Door is shut
Left hand Door is Opened whenRight Hand Door is shut
Both Doors are Opened
Right hand door is closed but left hand door is open
Left hand door is closed but right hand door is open
Both doors are closed
Right Hand door is closed and left hand door is already shut
Left hand door is closed and right hand door is already shut.
The problem with HomeKit is that you can't create a trigger that says "IF this OR that THEN act". Also to make it worse, in the Apple Home app, you can't put another accessory as a condition. A Condition would be "IF this WHILE that THEN act".
Fortunately the Home+ app does enable you to use accessory states as a condition.
The chances of opening/closing both doors at exactly the same time are minuscule. Also, if you open one or two, it doesn't matter as either of them can turn on the light on. This then reduces the programmable scenarios to:
Right Hand Door is Opened
Left hand Door is Opened
Right Hand door is closed and left hand door is already shut
Left hand door is closed and right hand door is already shut.
The first two would have been brilliant if I could have had an OR option, but alas not and this could be easily programmed in the Apple Home app.
On the left, you can see the very simple automation inside the Home App for opening the left door. You don't have to get complicated as if the light is already on, then turning it on again isn't an issue. This means that no condition is required.
I just needed a similar automation for the right door.
Closing doors is a different matter though, and this is where you need to be conditional.
You may shut one door, and leave the other open, for a reason. So, just shutting a door to turn off the light doesn't work. Now we have to get into using Home+
I'm showing the automation for closing the left door. It will only turn off the light if the right door is already shut.
There is also a similar automation for the right door.
What to do about the cats?
In one room we have a more modern style wardrobe with two sliding doors. It had a switch outside the wardrobe.
The first thing was to make the switch smart. In this case, I used an Eve Smart Switch. I was going through a hate relationship with Leviton Decora at the time, and so switched vendors. Eve has been reliable from day 1 and, as usual, it's integration into HomeKit has been flawless. Setup is exceptionally easy.
In some respects the automation is much easier than the other wardrobe as, essentially, it is either one door or the other. The problem is that one of the cats is too smart for her own good and she has worked out how to slide the door open.... but not put it back. This means the light comes on... and stays on.
So, now the light will not go on unless there is someone in the room.
In Automating this one, I found something rather interesting. It seems that if it triggers an accessory rather than a scene, it is much quicker! There is a difference from 11 to 14s down to 3 to 4s.
Thread <added 9th Feb 2021>
When I first set this up the Eve Sensor was running Bluetooth Low Energy (BLE), which doesn't help with speed, but it's great for battery life.
I'll be completely honest here, since starting this Blog, Eve Home have noticed it and sent me some toys to play with. One of the accessories I convinced them to send me was the newer version (v1.1) of their contact sensor which now has Thread support, via a Nordic Semiconductor nRF52840, as I wanted to compare with their older Bluetooth only. This doesn't change my view on Eve as I like their product anyway, as you can see above.
First of all I tried the same test again, just using the supplied firmware, which does not support Thread, and I found the performance to be the same. However, fairly quickly the device needed a firmware update and it upgraded to V2.1 (build 2044) and then Thread support kicked in. You can see it in the Eve app.
Now, as a screen shot that isn't very exciting. I wish it showed a network actually connecting to the HomePod mini.... however, you can see it is working.
It is, as well, quicker than just BLE and seems to have a better range.
I have two wardrobes. One is further than the other from my HomePod mini.
The video above shows the 1st wardrobe, which is on the other side of the wall from the HomePod mini, there wasn't a massive difference in speed. It was quick enough before with Bluetooth. However you can see the difference. The first time I open the door and then there is about a 2s delay until the light came on. Some of that delay could be caused by the bulb/globe being Hue. When I essentially do the same by breaking the contact with the new sensor it's almost instantaneous... You can see the change in the UI.
Where I have really noticed a speed increase is when I moved to the Master Bathroom where there is a 2nd wardrobe. This is through 2 walls and is almost 25ft from the HomePod mini. The delay is pretty bad, even though the light switch, also Eve, itself is hard wired but still uses Bluetooth. Again, the use of Thread massively changes the speed of reaction to the opening of the door.
Other things I noticed.
The Eve app is full of little surprises. I'm not sure what use this is, but you can actually get info on when the door was opened and for how long!


Comments
Post a Comment